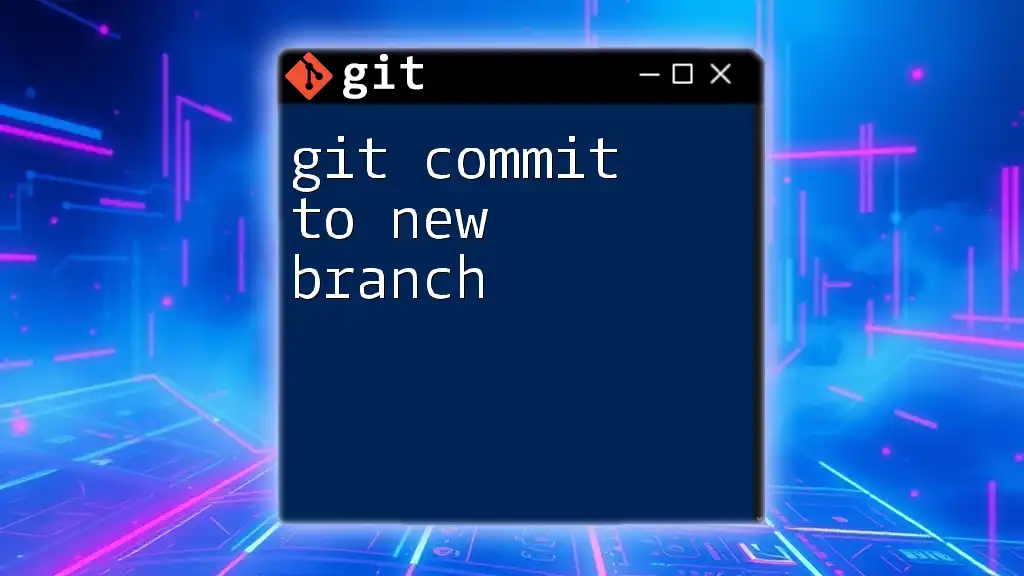
To save changes to a new branch in Git, you first create the branch and then switch to it before committing your changes, as shown in the following example:
git checkout -b new-branch-name
git add .
git commit -m "Your commit message here"
Understanding Git Branches
What is a Git Branch?
A branch in Git is essentially a pointer to a specific commit in your repository. Think of it as a separate line of development that allows you to work on features or fixes independently of the main codebase, typically referred to as the main or master branch. Each branch can evolve separately from others, allowing developers to experiment and collaborate without risking the stability of the main codebase.
Why Use Branches?
Utilizing branches in Git offers numerous benefits:
- Isolation: Each branch encapsulates changes, enabling developers to work on features, bug fixes, or experiments without interference.
- Safer Experimentation: Developers can try out new ideas on a branch. If it doesn’t work, it can simply be deleted without affecting the main branch.
- Improved Collaboration: Teams can work simultaneously on different features. Once completed, branches can be merged back into the primary project.
Preparing to Save Changes
Setting Up Your Git Environment
To get started with Git, ensure that Git is installed on your machine. You can confirm this by running the following command:
git --version
If Git is installed, it will display the currently installed version. If not, follow the installation instructions based on your operating system. Once Git is set up, you can clone your existing repository or create a new one:
git clone <repository-url>
Making Changes to Your Code
Before saving changes to a new branch, you need to make edits to your project files. Use your preferred code editor to modify the code as necessary. Remember, crafting clear and concise commit messages is critical for future reference and collaboration.
Creating a New Branch
How to Create a New Branch
To begin, you need to create a new branch where your changes will reside. This can be accomplished with the following command:
git branch <branch-name>
When naming your branch, it’s essential to follow naming conventions for clarity. A good convention might include prefixes that denote the nature of the branch, such as `feature/`, `bugfix/`, or `hotfix/`. For example:
git branch feature/login-page
Switching to Your New Branch
Once the branch is created, you need to switch to it so that your subsequent commits apply there. Use the following command:
git checkout <branch-name>
Alternatively, you can use the command that makes switching branches more straightforward:
git switch <branch-name>
This command will set your working directory to the new branch, making it ready for changes.
Saving Changes to the New Branch
Adding Changes to the Staging Area
Before committing your changes, they need to be added to the staging area. This acts as a temporary holding area for changes that you'll commit later. To stage changes, use:
git add <filename>
If you want to stage all modified files, you can use:
git add .
This command stages all changes in the current directory and its subdirectories.
Committing Changes
Now that your changes are staged, the next step is to commit them. Committing creates a snapshot of your current work in the branch. A meaningful commit message will help you and others understand the purpose of the commit in the future. To commit, use the following command:
git commit -m "Your commit message"
It's best to keep commit messages concise but informative, using the imperative tone. For example, “Add login functionality” clearly communicates the purpose of the commit.
Summary of Commands
Throughout this process, you will have utilized several key commands. Here’s a quick recap:
git branch <branch-name>
git checkout <branch-name>  # or git switch <branch-name>
git add <filename>           # or git add .
git commit -m "Your commit message"
Practical Example
Scenario: Adding a New Feature
Let's walkthrough an example where you're adding a login feature to your application.
-
Create a Branch: Start by creating a branch for this new feature.
git branch feature/login-page -
Switch to the New Branch: Transition into your new branch where the changes will be made.
git checkout feature/login-page -
Make Changes: Open your code editor and add the necessary code for the login feature.
-
Stage the Changes: After saving your changes, you’ll stage them.
git add . -
Commit the Changes: Finally, commit these changes with a relevant message.
git commit -m "Add login functionality"
These steps encapsulate the process for effectively saving changes in a new branch.
Conclusion
Utilizing branches when managing your code in Git allows you to save changes independently while fostering collaboration and safety in development. Regularly practicing these techniques will reinforce your understanding of Git and enhance your development workflow.
FAQs
What happens if I forget to commit before switching branches?
If you attempt to switch branches without committing your changes, Git will notify you, allowing you to either commit or stash your changes first. You can check the status of your files using:
git status
Can I merge my new branch back into the main branch?
Yes! To merge your new branch back into the main branch, first switch to the main branch, then use:
git merge <branch-name>
What if I need to delete a branch?
If you no longer need a branch, you can delete it with caution. Use the following command to safely remove the branch:
git branch -d <branch-name>
Additional Resources
For additional learning, visit the official Git documentation, explore specialized books, or enroll in online courses focused on mastering Git. Engaging with version control platforms like GitHub or GitLab will further solidify your skills through practical application.


