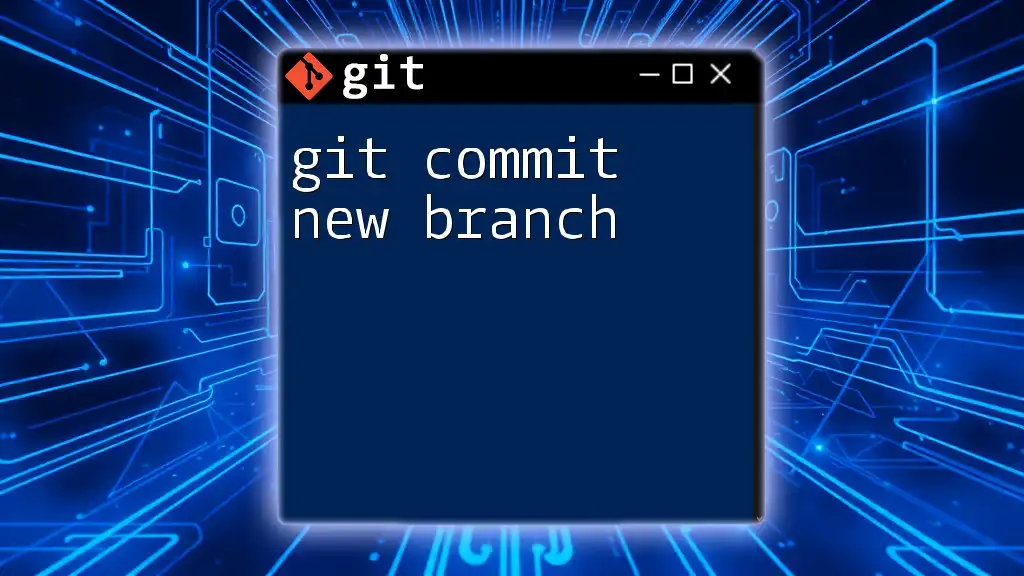
Creating a new branch in Git and committing changes can be done with the following commands, which first create the branch and then commit changes to it.
git checkout -b new-branch-name
git add .
git commit -m "Your commit message here"
Understanding Git Branching
What is a Git Branch?
In Git, a branch is essentially a pointer to a specific commit. It represents an independent line of development that allows you to work on features, fixes, or experiments without affecting the main codebase. When working with branches, you can simply "branch off" from the main project, make your unique changes, and later merge them back into the main branch, which is often referred to as `main` or `master`.
The main advantages of using branches include:
- Isolation of Features: You can develop features separately, allowing multiple aspects of a project to proceed in parallel without conflict.
- Enhanced Collaboration: Team members can work on different features simultaneously without stepping on each other’s toes.
- Experimentation: If an idea doesn’t pan out, you can easily delete a branch without impacting the stable version of your code.
Why Use a New Branch?
Creating a new branch is crucial for maintaining a clean and organized workflow in Git. When you work in a new branch, you can focus on a specific task without worrying about impacting the main codebase or other developers.
By utilizing branches, you can:
- Safeguard the Main Branch: Develop and refine features or fixes without introducing instability to the main branch.
- Resolve Conflicts More Easily: Changes made in separate branches can be reviewed and merged intelligently, minimizing the risk of conflicting changes.
- Facilitate Code Reviews: Having work in branches makes it clearer during code reviews what new features are being added, and which parts of the code are affected.
Setting Up a New Branch
Creating a New Branch
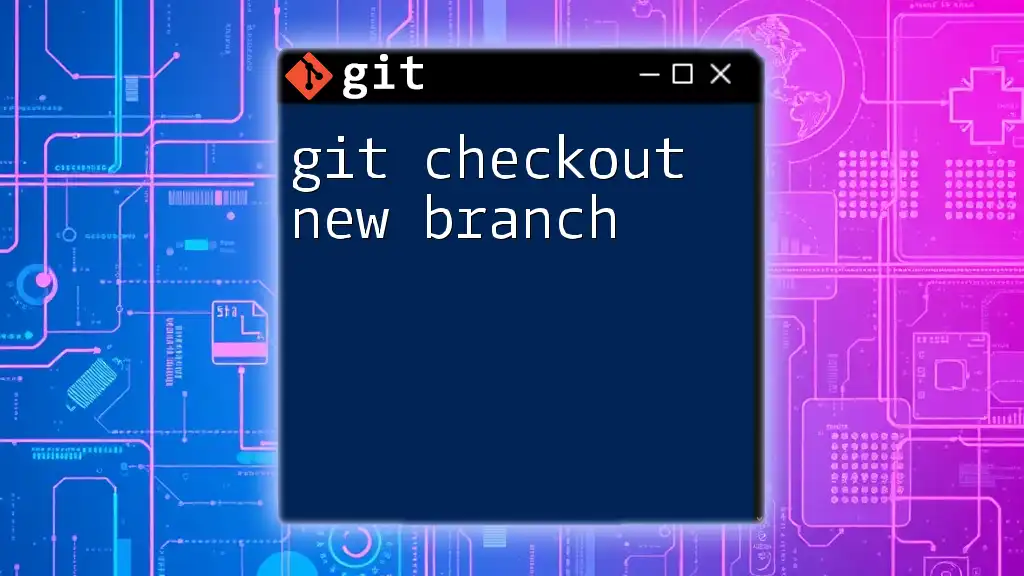
To create a new branch in Git, you will use the `git branch` command followed by the name you wish to assign to the branch. Here's the syntax for creating a branch:
git branch <branch-name>
Example: If you're creating a branch for a login feature, the command would look like this:
git branch feature/login
Switching to the New Branch
Once you've created a new branch, you need to switch to it in order to start making changes. You can accomplish this using either `git checkout` or the newer `git switch` command.
Here’s how you switch to your newly created branch:
git checkout <branch-name>
# or
git switch <branch-name>
Example:
# Using checkout
git checkout feature/login

# Using switch
git switch feature/login
Making Changes in the New Branch
Adding Files and Making Changes
With your new branch active, you can start making changes. You can create new files or modify existing ones. For example, if you're developing a login feature, you might add a new text file that contains relevant information:
echo "New login feature" > login.txt
Staging Your Changes
What is Staging?
Before committing changes, they must be staged. Staging is essentially a preparatory step that adds your changes to a staging area, making them ready to be committed.
You can check which changes are staged and which need to be staged by using:
git status
Staging Your Changes
To stage specific files, you can use:
git add <file-name>
To stage all modified files, you can run:
git add .
Example:
git add login.txt
Committing Changes to the New Branch
Crafting a Good Commit Message
Writing a clear and detailed commit message is crucial for understanding the purpose of changes later. A good commit message typically includes what changes were made and why those changes are necessary.
A structured commit message might look like this:
- Header: A short summary (50 characters or less).
- Body: A detailed explanation that provides context for why the changes were made.
Examples:
- Good: “Add login feature with validation”
- Poor: “Fixed things”
Committing Your Changes
Once your changes are staged, you're ready to commit them to your branch. Use the following command:
git commit -m "Your commit message"
Example:
git commit -m "Add login feature with validation"
This command captures the changes you've made along with your message, creating a snapshot of your work.
Verifying Your Commit
Checking Commit History
After committing, it’s essential to verify your work. You can view the history of commits using:
git log
For a more compact view, you can utilize:
git log --oneline
This command will give you a quick overview of all commits in your current branch.
Viewing Changes Made
If you’d like to see what you’ve changed since your last commit, you can run:
git diff
This command displays the differences between your last commit and the current state of your working directory.
Pushing the New Branch to Remote Repository
Pushing Your Branch
Once you're satisfied with your changes and commits, the next step is to push the new branch to your remote repository (e.g., GitHub). Use the command:
git push origin <branch-name>
Example:
git push origin feature/login
Creating a Pull Request (Optional)
After pushing your branch, you can consider creating a pull request (PR) to merge your changes back into the main branch. Pull requests are a fundamental part of collaborative development, enabling others to review your changes before they are merged.
Check your repository hosting service’s documentation (e.g., GitHub, GitLab) for specific steps on how to create a pull request.
Conclusion
In this guide, we've explored the concept of `git commit new branch` comprehensively. By creating a new branch, making changes, committing those changes, and pushing the branch to a remote repository, you are now equipped to manage your projects more effectively. Don't hesitate to experiment with branches and commits to enhance your workflow in Git.
Additional Resources
For those looking to deepen their understanding, consider visiting the official [Git documentation](https://git-scm.com/doc) or exploring books and online courses dedicated to Git. Feel free to reach out for personalized guidance as you embark on your journey to mastering Git!
Call to Action
Have you used branching and commits in Git? Share your experiences or leave any questions you have in the comments below! Your feedback helps foster a productive learning environment.


