A "git feature" refers to a specific branch created to develop a new feature or enhancement in a project, which allows developers to work on new ideas without affecting the main codebase.
Here's how to create and switch to a new feature branch in Git:
git checkout -b feature/my-new-feature
What is Git?
Git is a powerful version control system that allows developers and teams to manage changes to their codebase effectively. It helps track revisions, collaborate with others, and maintain a history of all changes. Its functionality is essential in modern software development, making understanding Git features crucial for developers at any level.
Understanding Git Features
Git features enhance productivity and facilitate collaboration among developers. These features lead to better code management, reduce conflicts, and streamline workflows. By mastering key Git features, users can leverage the full potential of this versatile tool.
Branching in Git
What is a Branch?
A branch in Git allows you to develop features independently of the main codebase (often called the "main" or "master" branch). This means you can work on new features, fix bugs, or experiment without affecting the stability of your main project. Branching is particularly beneficial when multiple developers are working on various aspects of the same codebase simultaneously.
Creating a Branch
Creating a new branch is simple. To create a new branch, you can use the following command:
git branch [branch-name]
For example, if you want to create a branch for a new feature called "login-page," you would run:
git branch feature/login-page
Switching Between Branches
After creating a branch, switching between branches is necessary to work on the specific feature. Use the command:
git checkout [branch-name]
For instance, to switch to the "login-page" branch, run:
git checkout feature/login-page
Merging Branches
Once your feature is complete and tested, it’s essential to merge it back into the main branch. You accomplish this with:
git merge [branch-name]
For example:
git merge feature/login-page
Keep in mind that, depending on the changes made in both branches, you may encounter merge conflicts that need to be resolved.
Deleting Branches
After merging a branch into the main codebase, it’s good practice to delete the feature branch to keep your repository clean. You can delete a branch with:
git branch -d [branch-name]
For example:
git branch -d feature/login-page

Staging Changes with Git
Understanding the Staging Area
The staging area (also known as the index) is where you prepare changes before committing them. It acts as an intermediary between your working directory and the commit history, allowing you to review what changes will be included in the next commit.
Adding Changes to the Staging Area
To stage changes, use:
git add [file-name]
For example, to stage a specific file:
git add index.html
If you want to stage all changed files in your current directory, you can use:
git add .
However, use this command with caution, as it will stage all modifications, including unintended ones.
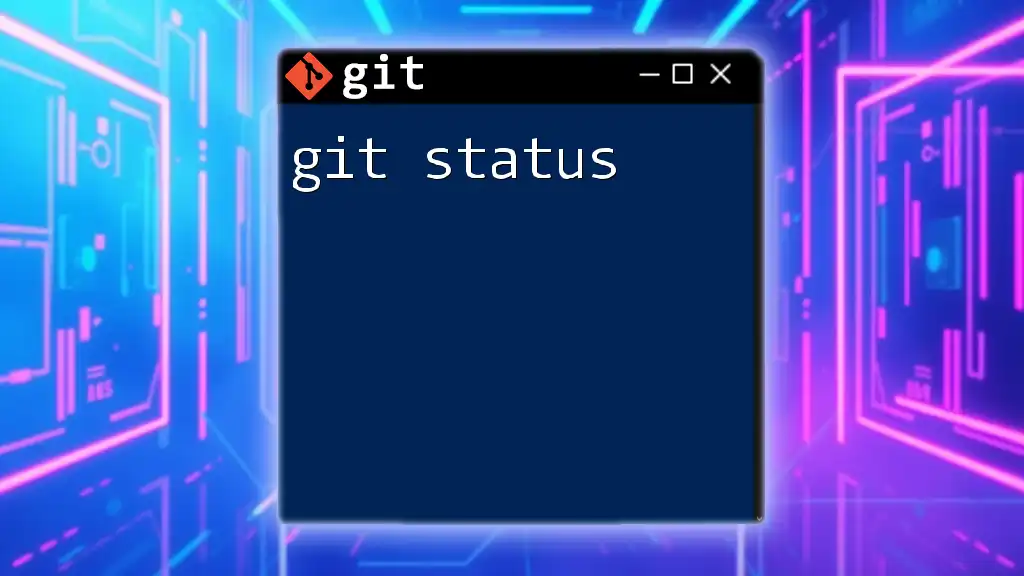
Viewing the Staged Changes
To view which changes are staged and ready to commit, use:
git status
This command will give you an overview of your working directory and staging area, highlighting what files are staged, unstaged, or untracked.
Committing Changes
What is a Commit?
A commit in Git represents a snapshot of your project at a specific point in time. Each commit includes a unique identifier, metadata, and a message describing the changes made. Writing clear commit messages is essential for maintaining a readable project history.
Making a Commit
To commit your staged changes, use:
git commit -m "Your commit message"
For instance:
git commit -m "Added login functionality"
Writing meaningful commit messages helps both you and others understand the changes made in a commit.
Viewing Commit History
To view the history of your commits, use:
git log
This command displays a chronological list of all commits. You can utilize various flags for more useful formatting:
- `--oneline`: Displays a condensed summary of commits.
- `--graph`: Shows a visual representation of the branching history.
Git Tags
What are Git Tags?
Tags in Git are markers that you can assign to specific points in your repository’s history, often used to signify release points. Git supports two types of tags: lightweight and annotated.
- Lightweight tags are simply pointers to a commit.
- Annotated tags contain a message and are stored as full objects in the repository.
Creating a Tag
To create a lightweight tag, use:
git tag [tag-name]
For an annotated tag, the command is:
git tag -a [tag-name] -m "message"
For example, to create a version tag, you might use:
git tag v1.0
Viewing Tags
To list all available tags in your repository, simply type:
git tag
This command will display all tags you have created.
Pushing Tags to Remote
To share your tags with others, you need to push them to the remote repository:
git push origin [tag-name]
For example:
git push origin v1.0
Git Remotes
Understanding Remotes
Remotes are versions of your repository hosted on the internet or network and enable collaboration between developers. Git allows you to interact with multiple remotes securely.
Adding a Remote
To add a new remote repository, use:
git remote add [name] [url]
For instance:
git remote add origin https://github.com/user/repo.git
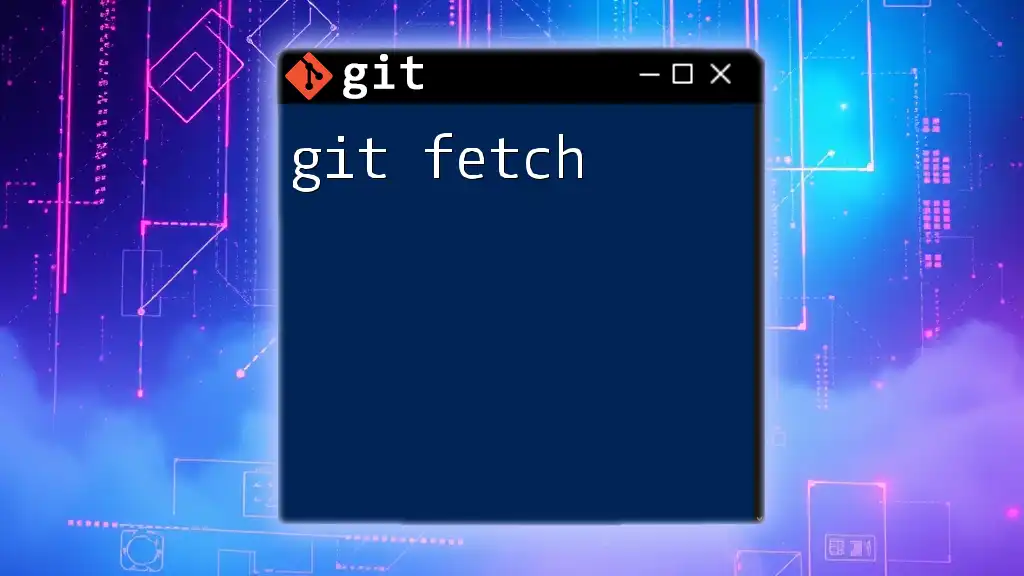
Fetching and Pulling Changes
To update your local repository with changes from the remote without merging, use:
git fetch [remote]
This command retrieves changes and stores them in your local repository but does not integrate them.
To fetch and merge changes simultaneously, use:
git pull [remote] [branch]
Example:
git pull origin main
Pushing Changes to Remotes
Once you've made changes and committed them, you need to push those to a remote repository:
git push [remote] [branch]
For example:
git push origin feature/login-page
Git Configuration
Global vs. Local Configuration
Git configurations can be set either globally (for all repositories on your machine) or locally (specific to a single repository). Understanding the difference helps in properly managing Git settings.
Setting Up User Information
To set your user details globally, use the following commands:
git config --global user.name "[name]"
git config --global user.email "[email]"
Replacing `[name]` and `[email]` with your actual username and email address. These details will be associated with your commits.
Checking Configuration
To view all Git configuration settings, use:
git config --list
This displays a list of configuration settings across both global and local scopes.
Conclusion
By understanding and utilizing these Git features, developers can enhance their workflows and collaborate more effectively. Mastering Git commands and features is not just about knowing how to use them but about incorporating them into your daily development practices.
Further Resources
For those looking to deepen their knowledge of Git, consider exploring official Git documentation, as well as recommended books and online courses. These resources can provide greater insights into best practices and advanced techniques for using Git effectively in your projects.


