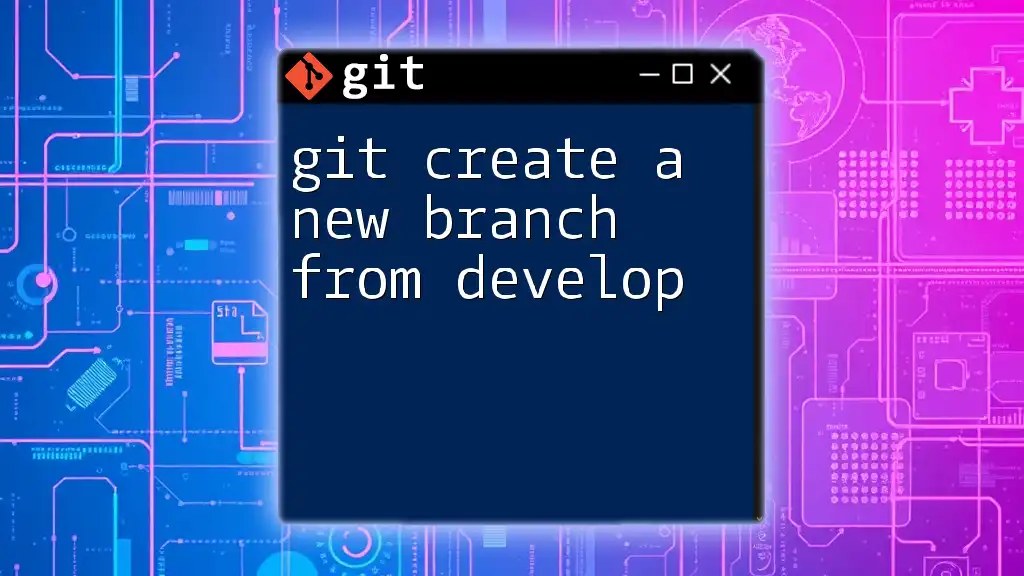
To create a new branch from the `develop` branch in Git, you can use the following command:
git checkout -b new-branch-name develop
Understanding Git Branches
What is a Git Branch?
A branch in Git is essentially a lightweight pointer to a commit. It allows developers to diverge from the main line of development and continue to work in parallel on different features or fixes without affecting the main codebase. This isolation is crucial as it encourages experimentation and facilitates multiple contributors working efficiently on a project simultaneously.
Why Use Branches?
Using branches in a Git workflow offers numerous benefits:
- Isolation: Branches allow you to work on features, bugs, or experiments without interfering with others' work.
- Collaboration: Multiple team members can work on different branches simultaneously, promoting a smoother workflow.
- Flexibility: You have the ability to switch between branches easily, enabling you to adapt to different development needs quickly.
Setting Up Your Git Environment
Initial Setup
Before diving into creating branches, it’s vital to ensure that Git is set up correctly on your local machine. If you haven’t installed Git yet, download it from the official site. After installation, you need to configure your Git settings, such as your name and email address, as follows:
git config --global user.name "Your Name"
git config --global user.email "your.email@example.com"
These settings help identify you as the author of commits and are essential for collaboration.
Cloning a Repository
If you're starting with an existing project, clone the repository to your local machine using the `git clone` command:
git clone https://github.com/username/repository.git
This command creates a local copy of the repository, enabling you to work on it without directly affecting the remote repository until you’re ready to push changes.
Creating a New Branch from Develop
Understanding the Develop Branch
In many workflows, especially those following Git Flow, the `develop` branch acts as the main integration branch where all features are merged for testing before being pushed to production. It is essential to start your new feature branch from the latest state of `develop` to minimize integration issues.
Checking Out the Develop Branch
To create a new branch effectively, first switch to the `develop` branch with the following command:
git checkout develop
This ensures you are working with the most recent changes in `develop`.
Ensuring Develop is Up to Date
Next, before branching off, make sure your local `develop` branch is up to date with the remote repository. Execute this command to pull the latest changes:
git pull origin develop
It’s critical to keep your base branch updated to avoid conflicts later on.
Creating a New Branch
Now that you’re on the latest `develop` branch, it’s time to create your new feature branch. Use the `-b` flag with `git checkout` to both create and switch to the new branch in a single command:
git checkout -b feature/new-feature
Breakdown of the Command:
- `git checkout -b`: This command not only creates the branch but also checks it out in one step.
- `feature/new-feature`: This is your new branch name. Following a naming convention (like using prefixes such as `feature/` for new features or `bugfix/` for bug fixes) helps maintain clarity.
Working in Your New Branch
Making Changes
After creating your new branch, you can start making changes to the codebase. As you modify files, remember to stage and commit your changes appropriately. To stage all modified files, use:
git add .
Then, commit your changes with a clear and concise message:
git commit -m "Add new feature to the application"
Clear commit messages help collaborators understand what each commit entails.
Pushing Changes to Remote
Once you’re satisfied with your changes and want to share them, you’ll need to push your new branch to the remote repository. This can be done with the following command:
git push origin feature/new-feature
This command uploads your branch and commits to the remote repository, making it available for review or collaboration.
Best Practices for Branch Naming
Choosing the right branch name is essential for maintaining clarity within your repository. Here are a few tips on branch naming:
- Be Descriptive: Use names that clearly describe what the branch is for, such as `feature/login-form` rather than `branch1`.
- Use Prefixes: Adopting prefixes like `feature/`, `bugfix/`, or `hotfix/` aids in quickly identifying the purpose of the branch.
- Keep it Concise: While clarity is important, aim to keep branch names short to improve readability.
Merging Your Branch Back to Develop
Preparing for Merge
Before merging, ensure your branch is ready. This means resolving any merge conflicts and ensuring that all tests pass. Make sure to stay updated with any changes made to `develop` since you created your feature branch by pulling from it:
git checkout develop
git pull origin develop
Switch back to your feature branch and rebase to incorporate the latest changes from `develop`:
git checkout feature/new-feature
git rebase develop
Merging the Branch
Once everything is up to date and conflicts are resolved, merge your branch back into the `develop` branch with:
git checkout develop
git merge feature/new-feature
Merging consolidates your changes into the `develop` branch.
Deleting the Branch
After a successful merge, don't forget to clean up by deleting the feature branch locally:
git branch -d feature/new-feature
This keeps your branch list uncluttered, ensuring easier navigation in the future.
Conclusion
This comprehensive guide on git create a new branch from develop encapsulates the essential steps required for efficient branch management in Git. By understanding the importance of branches, practicing proper setup and naming conventions, and following merging best practices, you’ll enhance your workflow significantly.
Additional Resources
To further enrich your understanding of Git, consult the official [Git documentation](https://git-scm.com/doc) for detailed explanations and commands. Additionally, you may explore tools like GitHub or GitLab that enhance collaboration and visual management of repositories.
Call to Action
We’d love to hear your experiences with Git branching strategies! Share your thoughts or any questions you may have in the comments below. And don’t forget to subscribe to our newsletter for more tips and tutorials on mastering Git.


