A local Git branch is a portable, isolated version of your project's code, allowing you to work on features or fixes without affecting the main codebase.
Here's a code snippet to create a new local branch and switch to it:
git checkout -b new-feature-branch
Introduction to Local Git Branches
A local git branch is a version of your project managed separately from your main codebase. It allows you to work on features, fixes, or experiments without directly affecting the stable version of your project. Understanding branching is vital for effective version control, especially in collaborative development scenarios.
Why Use Local Branches?
Using local branches provides numerous advantages. They allow for isolation of changes, meaning you can develop new features or experiment with code without worrying about breaking existing functionality. This makes it easier to manage multiple tasks concurrently. Additionally, branches can serve as a checkpoint for different stages of your project, enhancing your ability to roll back changes if necessary.
Creating a Local Git Branch
Creating a local git branch is straightforward. The basic command for creating branches is:
git branch <branch-name>
For example, if you're starting a new feature, you could create a branch named `feature/new-feature`:
git branch feature/new-feature
After creating a branch, you may want to switch to it to begin your work. Use the following command:
git checkout feature/new-feature
Alternatively, if you'd like to create and switch to a new branch in a single command, you can use:
git checkout -b feature/new-feature
This command effectively simplifies the process, allowing you to get started on your new feature immediately.
Viewing Local Branches
To view all the local git branches, simply run:
git branch
This command lists all existing branches and highlights the current branch with an asterisk (*). This way, you can quickly see which branch you are currently working on, aiding in better navigation through your project's structure.
Working with Local Branches
Once you've switched to your local git branch, it's time to make and commit changes. First, make your edits and then stage the changes:
git add .
Following that, commit the changes with a clear message describing what you've done:
git commit -m "Add new feature implementation"
After committing your changes locally, you might want to synchronize with the remote repository. To push your local branch to the remote, use:
git push origin feature/new-feature
This command uploads your changes to the remote repository, making them accessible to other collaborators.
Merging Local Branches
When you've completed work on your local git branch—such as a new feature or bug fix—you'll commonly merge it into your main or master branch. First, switch to the main branch:
git checkout main
Next, you can merge your changes using:
git merge feature/new-feature
This action incorporates the changes from your feature branch into the main branch.
However, merging can sometimes lead to conflicts, which occur when changes in the branches are incompatible. Common scenarios include when the same line of a file has been altered in both branches. To resolve these conflicts, Git will mark the files in question, allowing you to determine how to reconcile the differences.
Once you have addressed any conflicts, don’t forget to commit the merge results.
Deleting Local Branches
After merging your changes and ensuring that your project is stable, it's a good practice to clean up merged branches. This helps maintain a clear and organized project structure. You can delete a local branch by using:
git branch -d feature/new-feature
This command safely deletes the specified branch as long as it has been merged. If you wish to forcefully delete a branch that hasn’t been merged yet, you can use:
git branch -D feature/new-feature
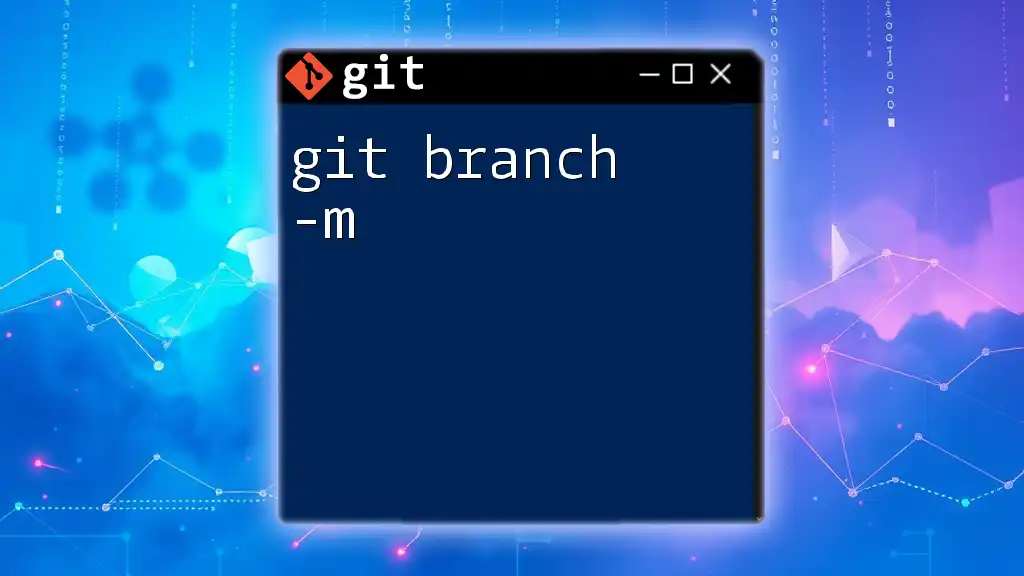
Renaming Local Branches
Sometimes you may want or need to rename your local git branch. If you are on the branch you want to rename, you can easily do so with:
git branch -m new-feature-name
If you want to rename a branch that you are not currently on, use:
git branch -m old-feature-name new-feature-name
Renaming is a useful practice to ensure your branch names remain relevant and reflect the work being done.

Best Practices for Local Branch Management
To keep your workflow efficient and your repository organized, here are a few best practices for handling local git branches:
- Adhere to branch naming conventions. Use clear and descriptive names like `feature/login-system` or `bugfix/issue-123`, which provide context at a glance.
- Conduct regular cleanup of merged branches. This will help prevent clutter in your project and make it easier to navigate and manage your branches.
Conclusion
Understanding and effectively using local git branches is essential for managing your projects efficiently. Local branches facilitate experimentation, collaboration, and maintainability, allowing you to develop features or fixes in isolation. As you continue working with Git, practicing these concepts will enhance your version control skills and improve teamwork dynamics in any collaborative environment.
Additional Resources
For those interested in diving deeper into Git, the official Git documentation is an invaluable resource. Additionally, consider using graphical tools that visualize branch structures, making it easier to manage complex projects effectively.


