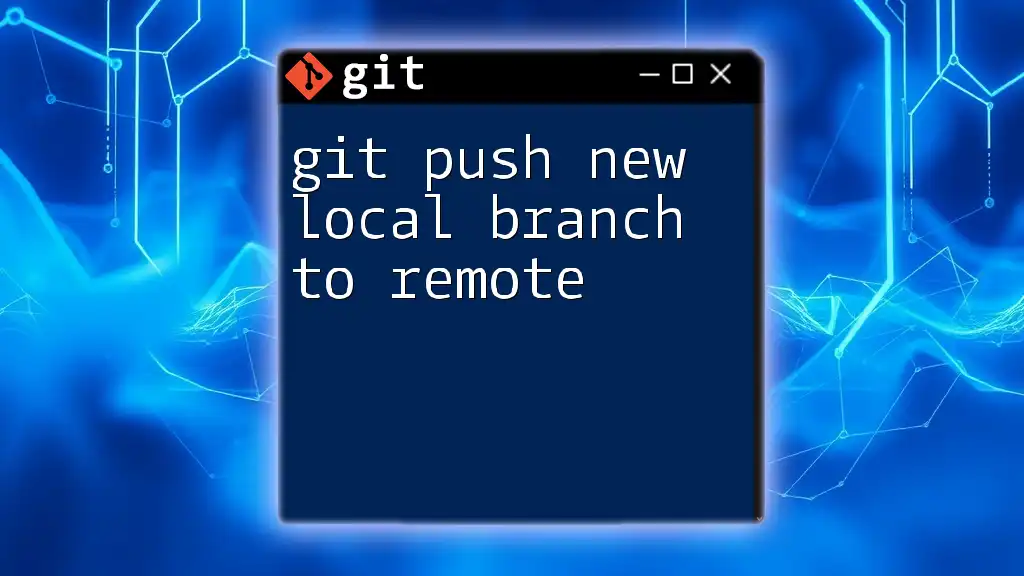
To push a new local branch to a remote repository in Git, use the following command where `<branch-name>` is the name of your local branch.
git push -u origin <branch-name>
Understanding Git Branches
What is a Branch?
In Git, a branch is essentially a snapshot of your project at a given point in time, allowing you to work on new features, bug fixes, or experiments without affecting the main codebase. By using branches, developers can maintain a clean and organized workflow while collaborating with others.
Local vs. Remote Branches
There are two types of branches:
- Local Branch: This exists only on your local machine and is used for personal development.
- Remote Branch: These branches are stored on a remote repository, such as GitHub or GitLab, and can be shared among team members.
Understanding the distinction between these two types of branches is crucial for effective collaboration and version control.
Creating a New Local Branch
Step-by-step Process
To create a new local branch, you can use the command:
git checkout -b <branch-name>
This command not only creates a new branch but also switches you to that branch immediately. When choosing a name, consider a structure that identifies the purpose of the branch clearly, such as “feature/xyz” for new features or “bugfix/abc” for bug fixes. A well-named branch helps keep your repository organized.
Example
For instance, if you're adding a new feature named "awesome-feature," you can create a new branch like this:
git checkout -b feature/awesome-feature
By executing this command, Git creates a new branch named "feature/awesome-feature" and automatically switches you to it, preparing you for development work.
Making Commits on the Local Branch
Why Commits Matter
In Git, commits represent a snapshot of your project at a specific point in time. They capture your changes, allowing you to revisit or revert to previous states if needed. Writing clear and descriptive commit messages is a best practice that helps you and your collaborators understand the purpose of each change.
Making Your First Commit
Once you've made changes in your new branch, you'll want to commit those changes. Start by staging the changes:
git add .
This command stages all modified files for the next commit. After staging, commit those changes with a clear message:
git commit -m "Implement initial version of awesome feature"
Here’s a breakdown:
- `git add .`: Stages all changes in the current directory.
- `git commit -m "Your commit message"`: Saves your changes in the repository with a description.
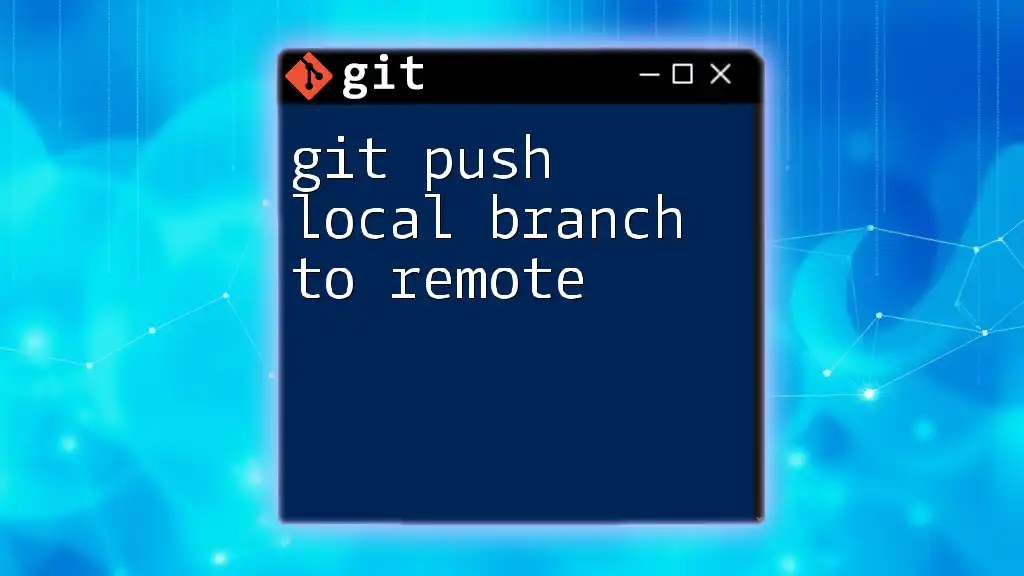
Pushing the New Local Branch to a Remote Repository
Setting the Upstream Branch
To share your new local branch with others, you need to push it to a remote repository. Before doing that, it's a good practice to set the upstream branch. This is done using the command:
git push -u origin <branch-name>
The `-u` option flags Git to track this branch with the remote counterpart, simplifying future push and pull operations by allowing you to omit the branch name.
Complete Example
For our earlier example, you would push your new feature branch to the remote repository like this:
git push -u origin feature/awesome-feature
In this command:
- `git push`: Indicates you're pushing changes to a remote repository.
- `-u`: Establishes the upstream tracking relationship.
- `origin`: Refers to the default name for your remote repository.
- `feature/awesome-feature`: Specifies the branch you want to push.
Verifying the Push
Checking Remote Branches
After successfully pushing your branch, it's wise to confirm that it exists on the remote repository. You can list all remote branches using:
git branch -r
This command will display all branches available on the remote. Look for your newly created branch to ensure everything went as planned.
Checking in the Remote Repository
In addition to checking via command line, it’s beneficial to verify directly in your remote repository interface (e.g., GitHub or GitLab). This way, you can visually confirm the presence of your new branch and its commit history.
Common Issues and Troubleshooting
Conflicts When Pushing
Sometimes, you may encounter conflicts when trying to push your branch. This can happen if someone else has pushed changes to the same branch on the remote. In such cases, you'll need to merge or rebase your changes before pushing again. Use:
git pull origin <branch-name>
This command integrates changes from the remote branch into your local branch and helps resolve any discrepancies.
Authentication Issues
Issues may also arise related to authentication, especially if your SSH keys or HTTPS settings aren’t configured properly. Ensure you've set up SSH keys for authentication to avoid username/password prompts during push operations.
Best Practices for Working with Git Branches
Naming Conventions
When creating branches, consider using a naming convention that clearly indicates the purpose of the branch. Following a pattern like `feature/description`, `bugfix/description`, or `hotfix/description` can greatly enhance readability and navigation within your repository.
Regularly Pushing Changes
It's essential to keep both your local and remote repositories synchronized. Regularly pushing your changes reduces the chances of conflicts and ensures your team members can access your latest work.
Conclusion
In this guide, we covered how to git push new local branch to remote, including all necessary steps from creating a local branch to verifying its presence in the remote repository. Mastering this process is vital for collaborating effectively in Git. As you gain experience, consider exploring more advanced Git topics, such as branching strategies and workflow models. Happy coding!
Call to Action
Feel free to share your questions or suggestions for future articles in the comments below. Subscribe to our newsletter for more concise Git tutorials and updates!


