To create an initial commit in a Git repository, you need to stage your files and then commit them with a message describing the initial state of your project.
Here's how to do it:
git add .
git commit -m "Initial commit"
Understanding Version Control
What is Version Control?
Version control is a system that records changes to files over time so that you can recall specific versions later. It is especially vital in software development, where tracking and managing changes in code is essential for collaboration and maintaining quality.
How Git Fits into Version Control
Git is a distributed version control system that allows multiple developers to work together on the same project simultaneously. It makes it easy to track revisions, collaborate on changes, and manage project history, empowering teams to develop software more efficiently.
Setting Up Your Git Environment
Installing Git
Before you can work with Git, you need to install it on your system. Here’s how:
-
For Windows: Download Git from the official site [git-scm.com](https://git-scm.com/) and run the installer, choosing the necessary preferences.
-
For macOS: Use Homebrew by running:
brew install git -
For Linux: You can typically install Git using your package manager. For example:
sudo apt-get install git # For Debian/Ubuntu systems
Configuring Git
After installation, configure your user information. This step is essential since each commit will have these details attached to it. You can do this with the following commands:
git config --global user.name "Your Name"
git config --global user.email "you@example.com"
This step ensures that Git recognizes your identity which is crucial for accountability in collaborative projects.
Creating Your First Repository
What is a Repository?
A Git repository (or repo) is a collection of files and their revision history. It is where all the changes to your files are tracked, and it can exist locally on your machine or remotely on a platform like GitHub.
Creating a New Repository
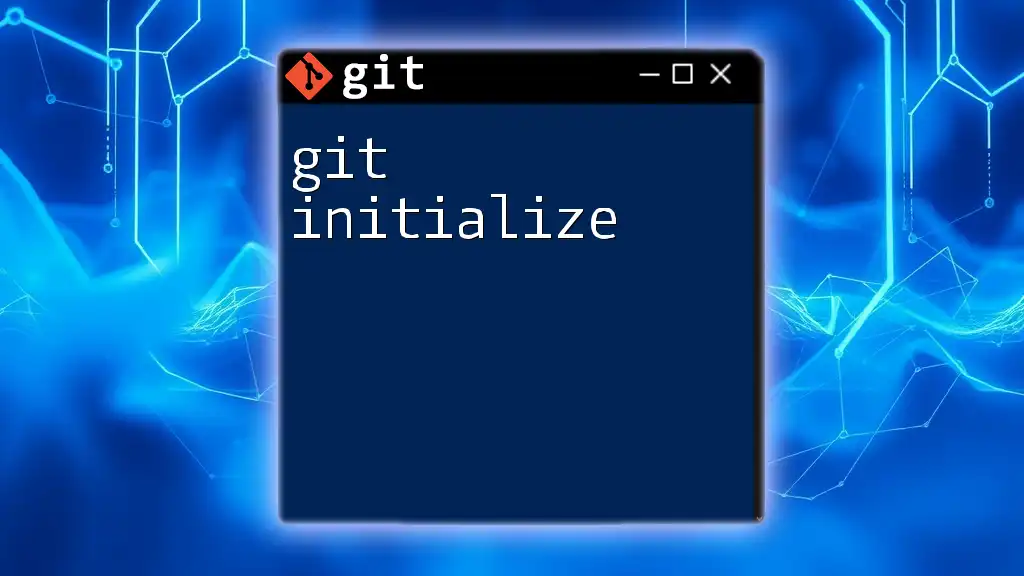
To start tracking your project with Git, create a new repository on your local machine. Here's how to do it:
- Open your terminal.
- Create a new directory for your project:
mkdir my_project - Navigate into this directory:
cd my_project - Initialize a new Git repository:
git init
When you execute the `git init` command, a new `.git` directory is created in your project folder. This directory contains all the configuration files and objects necessary for version control.
Making the Initial Commit
Understanding Commits
A commit in Git is like a snapshot of your file at a particular point in time. Each commit has a unique identifier and contains information about the author, time, and a commit message describing the changes.
Preparing to Make the Initial Commit
Before making your initial commit, it’s helpful to set up some essential files.
-
Creating a .gitignore file
A `.gitignore` file specifies files and directories that should be ignored by Git. This is important for excluding unnecessary files (like temporary logs or build artifacts) from being tracked. Here’s an example of a `.gitignore` file:# Example .gitignore *.log node_modules/ -
Creating Initial Files
You may want to start with a README file that gives insight into your project:echo "# My Project" >> README.md
Adding Files to the Staging Area
The staging area is where you prepare files before committing them. To add files to the staging area, use:
git add README.md
This command tells Git that you want to include the README file in your next commit.
Committing Your Changes
Now that you have your files prepared and added to the staging area, it’s time to create your initial commit. This is done with the following command:
git commit -m "Initial commit"
The `-m` flag allows you to include a short message about the commit, which is critical for understanding the history of your project.
Understanding the Log
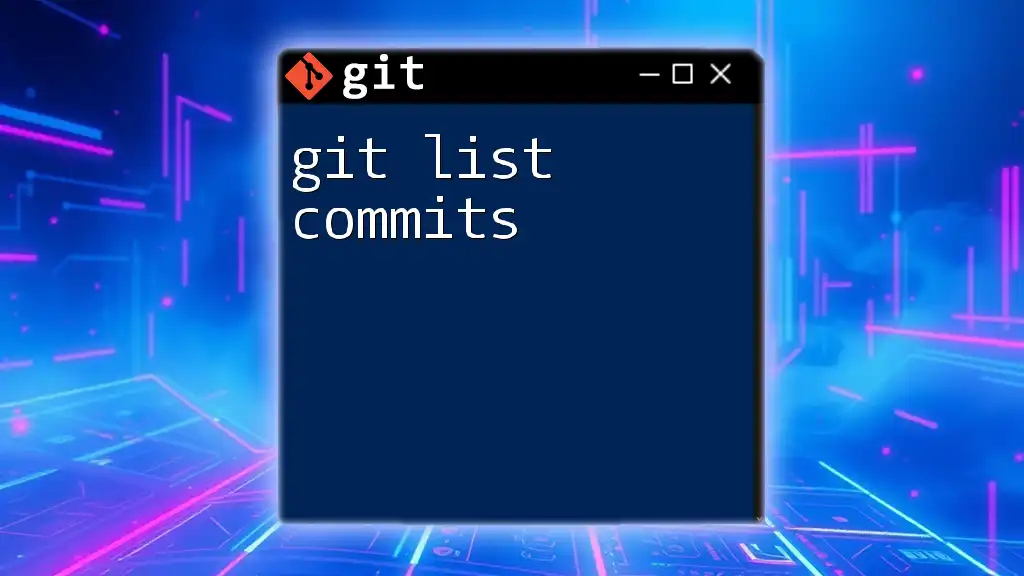
Checking Your Commit History
Once you have made your initial commit, you can easily check your commit history to see your changes over time. Use:
git log
This command displays a list of commits, including the commit hash, author information, date, and the commit message. This history is invaluable for tracking progress and collaborating with others.
Conclusion
Creating an initial commit is a critical step in using Git effectively. By following the outlined procedures, you have learned how to initialize a repository, add files, and make your first commit. Getting comfortable with the initial commit sets a solid foundation for your version control workflow.
Encouragement to Practice
Don’t hesitate to practice creating your own initial commit. Familiarity with these commands and processes will empower you to manage your projects with confidence and efficiency in Git.
Additional Resources
For further learning, consider exploring the official Git documentation and related online resources. Familiarize yourself with graphical Git tools like GitHub Desktop or Sourcetree, which can also simplify your experience as you learn Git.
Questions and Feedback
As you dive deeper into Git, we encourage you to share your questions and experiences. Engaging with the community can enhance your understanding and open up new opportunities for collaboration and learning.


