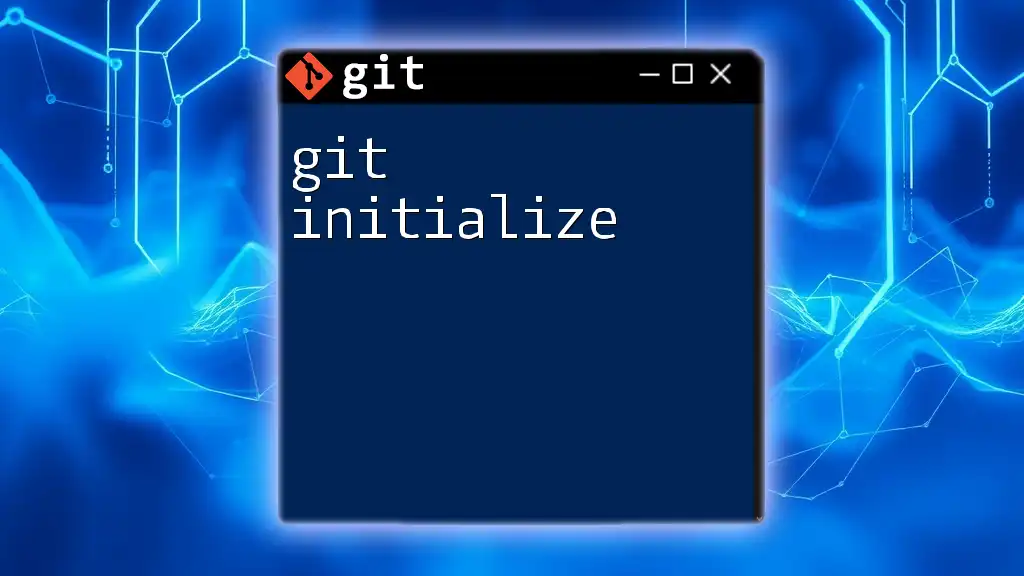
Git and GitHub are essential tools for version control and collaborative coding, allowing users to manage project changes efficiently and streamline collaboration with the following basic command to initialize a new repository:
git init
Understanding Git
What is Git?
Git is a distributed version control system (DVCS) that allows developers to track changes in their code and collaborate with others. Unlike centralized version control systems, Git enables every user to have a complete copy of the repository on their local machine, allowing for better collaboration, branching, and merging capabilities. This decentralized approach makes Git incredibly powerful and efficient for managing code changes over time.
Key Concepts of Git
Repositories: A repository, or "repo," is a storage space for your project, where all your files and their history are kept. When you create a new repository with `git init`, you're setting up a space where Git can begin tracking your project.
Commits: Each commit is a snapshot of your project at a certain point in time. It allows you to save changes with a brief message explaining what has been modified. Commits are pivotal to understanding the history of your project.
Branches: Git uses branches to allow developers to work on different versions of a project simultaneously. This is especially useful in collaborative environments where multiple features or fixes may be developed at the same time. The default branch in Git is usually called `main` (or `master`), but you can create new branches for specific features.
Merging: Once a feature is completed on a separate branch, it can be merged back into the main branch. This allows for a smooth integration of changes, ensuring that the main project remains stable while accommodating new developments.
Getting Started with Git
Installing Git
To begin your Git and GitHub tutorial, you’ll need to have Git installed on your computer. You can download it from the [official Git website](https://git-scm.com/downloads). Installation differs slightly across platforms:
-
Windows: Use the installer executable.
-
macOS: You can install Git using Homebrew with the command:
brew install git -
Linux: Use the package manager for your distribution, as shown below:
sudo apt-get install git # For Debian-based systems
After installation, verify it by running:
git --version
Configuring Git
Before using Git, configure it with your personal information. This step is essential as it associates your commits with your identity. Use the following commands:
git config --global user.name "Your Name"
git config --global user.email "youremail@example.com"
These commands set your name and email globally, affecting all repositories on your machine.
Basic Git Commands
Initializing a Repository
To create a new Git repository, navigate to your project’s directory and run the command:
mkdir my-repo
cd my-repo
git init
This initializes a new Git repository, setting up the necessary files and directories for version control.
Making Changes and Staging
After you’ve made changes to your files, you’ll need to stage them before committing. Understanding the distinction between the working directory (where your current files reside) and the staging area (where changes are prepared for the next commit) is crucial. To stage a file, use:
git add filename
You can stage all modified files by executing:
git add .
Committing Changes
Committing changes captures the current state of your project. After staging your changes, commit them with a descriptive message using:
git commit -m "Your commit message"
Always keep your commit messages clear and concise to understand the changes later.
Viewing Repository History
You can review the history of commits in your repository using the command:
git log
This command displays a chronological list of your commits, including the commit hash, author, date, and message. Familiarizing yourself with this history is vital for tracking project changes.
Branching in Git
Creating and Managing Branches
Branches allow multiple versions of your project to coexist independently. To create a new branch, use:
git branch new-branch
git checkout new-branch
You are now working in the `new-branch` branch. Whenever you finish a feature, you can switch back to the main branch to merge changes.
Merging Branches
Merging combines changes from different branches. After completing work on your feature branch, switch to your main branch and run:
git checkout main
git merge new-branch
This command combines the changes from `new-branch` into `main`. Handling merge conflicts may sometimes occur, so understanding how to resolve them is an important skill.
Remote Repositories with GitHub
Introduction to GitHub
GitHub is a web-based platform for hosting Git repositories. It adds a layer of collaboration and code management, making it an invaluable tool for teams. Understanding how to connect your local repositories to GitHub is essential for remote collaboration.
Creating a GitHub Account
To start using GitHub, sign up for a free account at [GitHub](https://github.com/). Follow the straightforward registration process to create your account.
Connecting Local Repository to GitHub
To link your local Git repository to a GitHub repository, you’ll require the URL of your repo. After creating a new repository on GitHub, connect it with your local repository:
git remote add origin https://github.com/username/repo.git
This command establishes a connection to the remote repository.
Pushing and Pulling Changes
Pushing Local Changes to GitHub
After committing changes locally, you need to push these changes to your GitHub repository with:
git push origin main
This command uploads your commits to the remote repository, ensuring that your collaborators have access to the latest updates.
Pulling Changes from GitHub
To incorporate updates from the remote repository into your local version, use the pull command:
git pull origin main
This fetches changes from the GitHub repository and merges them into your local branch.
Working with Collaborators
Cloning a Repository
When collaborating, you may need to copy an existing remote repository to your local machine. Cloning can be done using:
git clone https://github.com/username/repo.git
This command creates a local copy of the repository, including all its history.
Handling Merge Conflicts
Merge conflicts arise when changes in different branches contradict one another. When attempting to merge, if you encounter a conflict, Git will notify you. You’ll need to manually resolve these conflicts by editing the affected files to decide which changes to keep. After resolving, stage and commit the changes.
Conclusion
In this Git and GitHub tutorial, we explored the core concepts of Git, learned to set up repositories, manage branches, and collaborate effectively through GitHub. Understanding these fundamentals opens the door to mastering version control, enhancing your workflow, and contributing to collaborative projects effectively.
To deepen your proficiency, practice the commands discussed and explore advanced topics such as rebasing or using Git hooks.
Additional Resources
For further learning, refer to:
- Official Git Documentation
- GitHub Learning Lab
- Recommended books and tutorials available online.
Call to Action
Start using Git commands in your projects today! Subscribe for more tutorials and tips to enhance your coding skills and become proficient in version control.


