To fork a Git repository, you can simply click the "Fork" button on the repository's GitHub page, which creates a personal copy of the repository in your account.
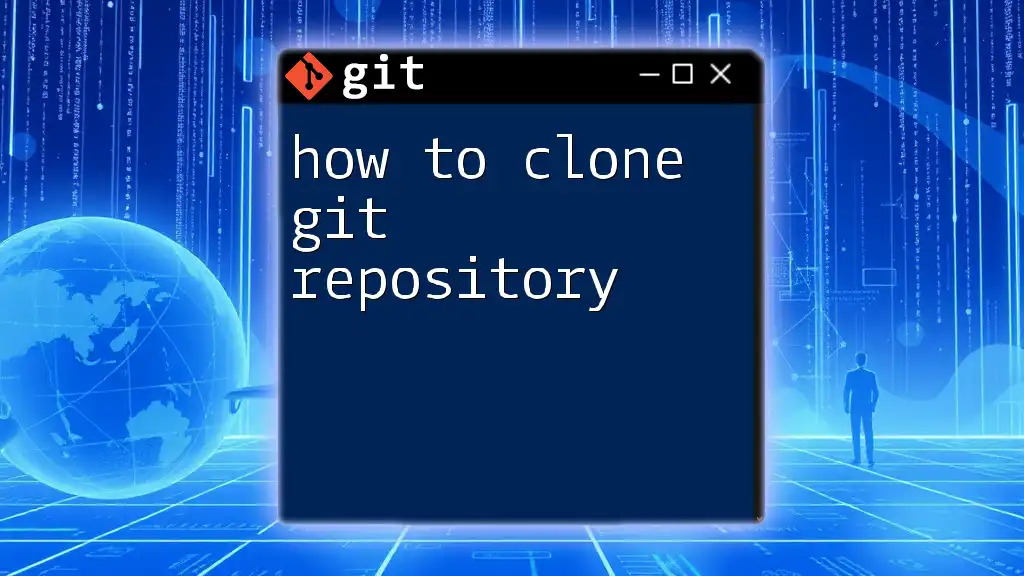
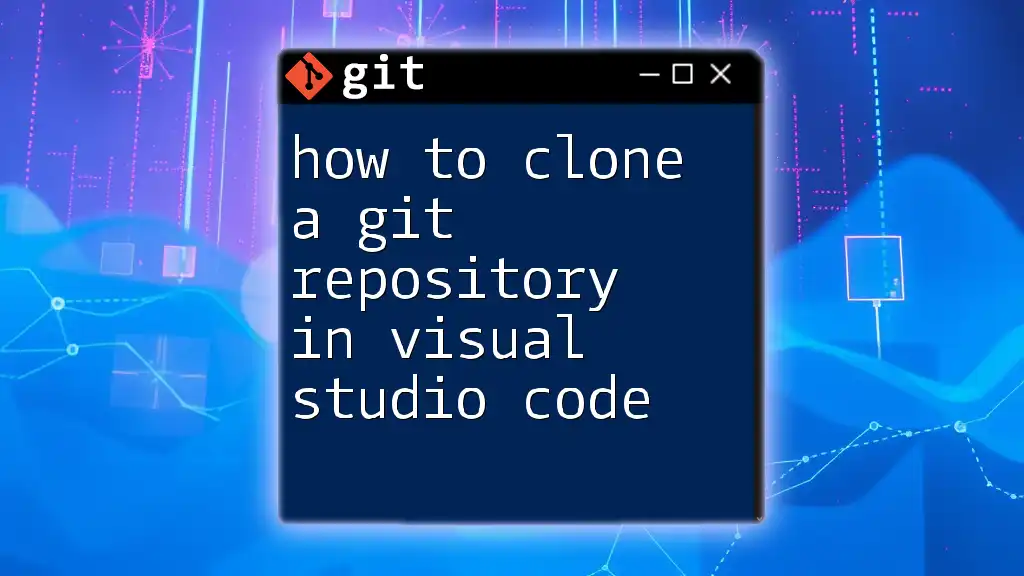
Here's the command to clone your newly forked repository locally:
git clone https://github.com/your-username/repo-name.git
What is a Fork?
In the world of Git and GitHub, forking refers to creating a personal copy of someone else's repository. This allows users to freely experiment with changes without affecting the original project. Forking is crucial for collaboration, especially in open-source environments, as it empowers individuals to contribute improvements or modifications to shared codebases.
It's essential to differentiate between forking and cloning. When you fork a repository, you're creating a new repository under your account that is linked to the original. Conversely, cloning means you are creating a local copy of a repository on your computer without the connection to the original repository. Understanding this distinction helps clarify your options for collaboration and contribution.
Use Cases: Why and When to Fork a Repository
- Contributing to Open Source: If you want to add a feature or fix a bug in an open-source project, you need to fork the repository first. After making your changes, you can propose them to the original project maintainers via a pull request.
- Experimentation: Forking is ideal for trying out new ideas or features without risk. You can make changes and test them as much as you need without impacting the original project.
- Personal Projects: You might want to modify a project for personal use. Forking allows you to tailor an existing codebase to your needs.
Understanding the GitHub Interface
Navigating GitHub
Becoming familiar with the GitHub interface is vital for effective use of the platform. GitHub features different sections, such as repositories, pull requests, issues, and discussions, all essential for collaboration.
Creating a GitHub Account
To start using GitHub, you must first create an account. Here’s how:
- Visit the GitHub website and click on the "Sign up" button.
- Follow the prompts, which include providing your email address, creating a unique username, and setting a secure password.
- After setting up your account, make sure to complete your profile by adding a profile picture and bio.
How to Fork a Git Repository
Step-by-Step Forking Process
Step 1: Find the Repository
To fork a repository, you first need to locate the one you are interested in. You can use the search feature on GitHub to find popular repositories or specific ones related to a topic of interest.
Step 2: Forking the Repository
Once you've identified the repository you wish to fork, follow these simple steps:
- Navigate to the repository’s main page on GitHub.
- Look for the "Fork" button in the upper right corner of the page and click it.
Your GitHub account now has a copy of that repository, which you can freely edit.
Understanding Your Forked Repository
After forking, you’ll be directed to your own forked version of the repository. This new repository functions independently from the original, and any changes you make will not be reflected in the original repository unless you choose to submit them back via a pull request.
Making Changes to Your Forked Repository
Cloning Your Fork Locally
To apply changes to your fork, you need a local copy of the repository on your computer. You can do this through the following command in your terminal:
git clone https://github.com/your-username/repository-name.git
Replace `your-username` and `repository-name` with your GitHub username and the name of the repository respectively.
Making and Committing Changes
Now that you have your repository cloned, you can start making changes. After you've modified files or added new ones, it’s crucial to stage and commit your changes properly. This can be accomplished with the following commands:
git add .
git commit -m "Brief description of the changes"
This allows you to keep a clear record of what changes were made and why.
Synchronizing Your Fork with the Original Repository
Keeping Your Fork Up to Date
To ensure that your forked repository stays updated with the changes made in the original repository, you need to integrate those updates regularly. Here’s how to add the original repository as a remote:
git remote add upstream https://github.com/original-owner/repository-name.git
Now, to fetch and merge updates from the original repository, use the following commands:
git fetch upstream
git merge upstream/main
This keeps your fork in sync with the original project.
Resolving Merge Conflicts
Sometimes, you may encounter merge conflicts when trying to merge changes. A merge conflict arises when changes from the upstream repository and your modifications affect the same line of code. In this case, Git will flag the conflict, and it’s up to you to resolve it by choosing which changes to keep or merging them manually.
Submitting Changes Back to the Original Repository
Creating a Pull Request
Once you are satisfied with your changes, it’s time to propose those changes back to the original repository through a pull request. Follow these steps:
- Push your changes to your forked repository on GitHub.
- Navigate back to the original repository where you want to submit the changes.
- You’ll see a prompt to create a pull request; click on it to start the request process.
Be sure to provide a clear and concise description of the changes you've made.
Best Practices for Pull Requests
When creating a pull request, it’s essential to maintain a clean commit history. Avoid large, unfocused pull requests, as they can overwhelm project maintainers. Instead, aim for small, focused contributions and always include a well-articulated description that explains why your changes are necessary.
Conclusion
Forking a Git repository is a powerful way to collaborate and contribute to projects. Whether you're fixing bugs, adding new features, or experimenting with code, knowing how to fork a repository is a foundational skill in modern software development. By understanding the forking process, synchronizing with the original repository, and effectively submitting changes, you position yourself as a valuable contributor to the coding community.
Additional Resources
For anyone looking to deepen their understanding of Git and GitHub, numerous resources are available, including:
- The official Git documentation.
- Online tutorials focused on Git and GitHub.
- Community forums where you can ask questions and share experiences.
Call to Action
Now that you’re equipped with the knowledge of how do i fork a git repository, we’d love to hear about your experiences! Share your thoughts in the comments below, and don’t forget to subscribe for more insightful Git tutorials to enhance your skills.


