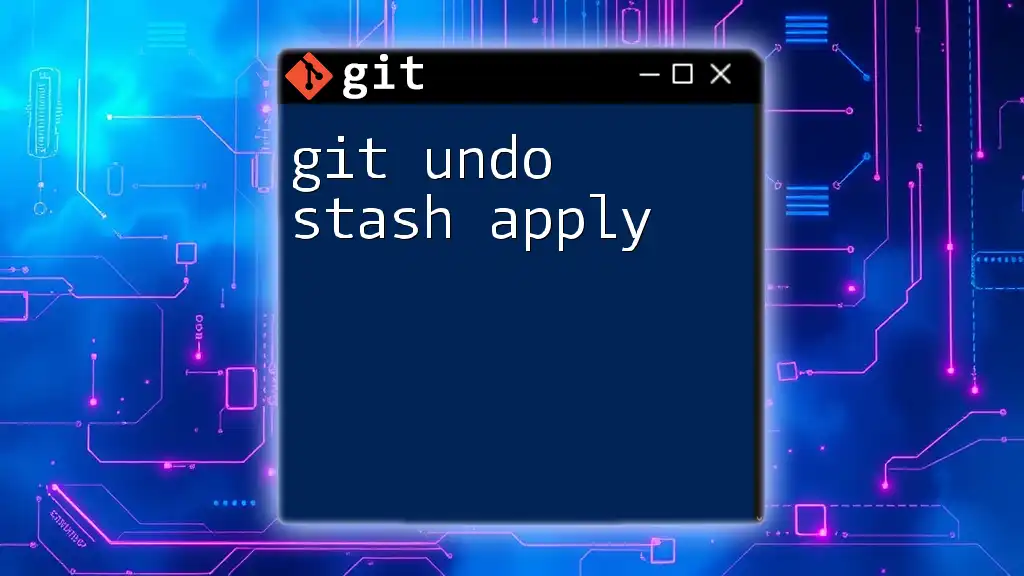
The command `git stash apply` is used to reapply the changes saved in the last stash, while the command `git reset --hard` can be utilized to undo any applied changes if needed.
Here is the markdown code snippet for using `git stash apply` and undoing it:
# Apply the last stash
git stash apply

# Undo the changes applied from the stash
git reset --hard
Understanding Git Stash
What is Git Stash?
Git stash is a powerful feature in Git that allows developers to temporarily save changes that are not yet ready to be committed. This helps keep the working directory clean, especially when switching branches or needing to pull in new changes without committing unfinished work. Stashing is particularly useful in collaborative environments where frequent area updates occur, enabling developers to jump between tasks smoothly without losing their progress.
Common Commands Related to Git Stash
-
`git stash`: This command is used to save your uncommitted changes. The changes are stored on a stack, and your working directory is reverted to the last commit.
git stash -
`git stash list`: After stashing changes, you can view your stashed entries with this command. It provides a list of current stashes, each identified by an index.
git stash list -
`git stash drop`: When a stash is no longer needed, you can remove it from the stash list with this command. It's a direct way to keep your stash clean.
git stash drop stash@{0}

The Stash Apply Command
What is `git stash apply`?
The command `git stash apply` is used to reapply the stashed changes back to your working directory. It takes the most recent stash by default, but you can specify a stash entry if you want to apply an earlier one. This command is crucial when you want to retrieve your previously stashed work without removing it from the stash list.
It's essential to understand the difference between `git stash apply` and `git stash pop`. While both commands restore stashed changes, `git stash pop` removes the stash entry after applying it, whereas `git stash apply` does not.
Syntax
The basic syntax for the command is straightforward:
git stash apply [<stash>]
If you have multiple stashed entries, you can specify which one to apply by appending its identifier:
git stash apply stash@{1}
Use Cases for `git stash apply`
Developers often find themselves in situations where using `git stash apply` can be beneficial. A few common scenarios include:
- Switching branches while having uncommitted changes.
- Pulling in updates from a remote repository and needing to temporarily shelve your work.
- Working on experimental features and needing to revert to previous, stable code temporarily.
The Need for Undoing a Stash Apply
Why You Might Want to Undo a Stash Apply
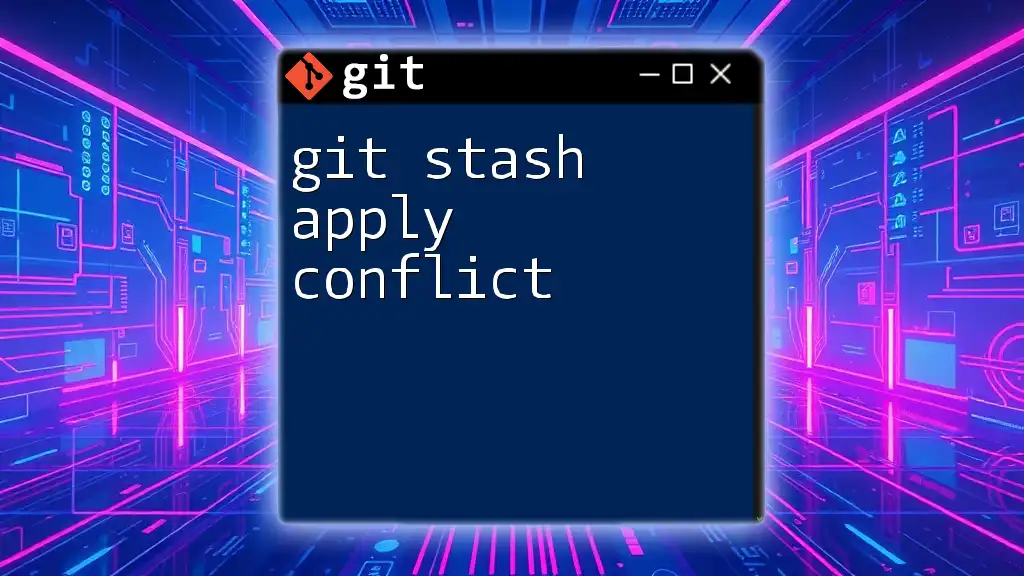
Despite the utility of stashing, issues can arise after applying a stash. For example, merge conflicts may occur if the applied changes conflict with files that have been modified since the stash was created. Additionally, developers might apply a stash and realize that they did not intend to restore those particular changes, preferring to continue with a previous state.
Identifying Stash Apply Issues
Common signs that indicate a problem after applying a stash may include:
- Merge conflict messages: Indicates overlapping changes that need to be resolved.
- Unintended modifications in the working directory: You might see excessive changes that don't align with your current task.

How to Undo Stash Apply
Basic Concepts of Undoing Changes in Git
To effectively undo changes in Git, developers must understand the utility of commands like `git checkout` and `git reset`. Here's a quick overview:
-
`git checkout`: This command is primarily used to switch branches, but it can also restore files to the state of a specific commit, essentially discarding local changes in the process.
-
`git reset`: This command modifies the current branch by resetting it to a specific state. It can be used to discard changes, but its options vary in terms of restoring the working directory and the staging area.
Undoing a Git Stash Apply
To undo a stash apply, you can leverage the `git checkout` command to restore files to their previous state before the stash was applied. Here's a step-by-step guide:
-
First, identify which files experienced unwanted changes after applying the stash using `git status`.
-
Use `git checkout` to restore the necessary files. For example, to revert a specific file:
git checkout -- <file-name> -
If you need to revert the entire working directory to the last commit, you can use:
git reset --hard HEAD
Note: This command will discard all local changes, so use it with caution.
Example Scenario
Imagine you're working on a feature in a `feature` branch and have some uncommitted changes in a file called `app.js`. You decide to stash your changes, switch to `main`, and pull the latest updates. After switching back to the `feature` branch, you apply the stash, only to find merge conflicts and adjustments that conflict with the changes in `app.js`.
To undo the stash apply, you could check the status:
git status
After identifying the conflicts in `app.js`, you could revert that specific file:
git checkout -- app.js
This restoration allows you to rectify the situation and handle the conflicts thoroughly or decide to create a new stash and work on the feature further.
Tips for Effective Stash Management
Best Practices for Using Git Stash
-
Document Your Stashes: Consider using `git stash save " descriptive message"`, which helps you remember why you stashed certain changes.
-
Avoid Overusing Stashes: Constantly stashing may lead to an overcrowded stash list. Be selective about what you stash and clean up regularly.
-
Use Branches for Long-Term Work: Whenever possible, use branches for significant feature developments rather than relying on stash interrupts.
When Not to Use Git Stash
Avoid using stashes for critical work that requires rigorous tracking and history. If changes are substantial or complex, committing them to a feature branch is often more reliable than stashing.
Conclusion
In conclusion, understanding how to effectively manage your usage of `git stash` and specifically the `git stash apply` command plays a vital role in modern development workflows. Recognizing potential issues post-application and having strategies in place for undoing those changes ensures that you can work efficiently without losing valuable progress. Practicing these commands leads to improved Git proficiency, and we encourage you to delve deeper into Git stashing, applying, and undoing strategies.
Additional Resources
As you embark on enhancing your Git skills, consider exploring the official Git documentation for more detailed insights, engaging with tutorials, and joining Git-focused communities. If you have further questions or specific scenarios to explore, feel free to reach out for guidance.
Call to Action
Take the next step toward mastering Git commands by signing up for our courses focused on Git skills. Share your experiences with stashing and command line operations, and let's continue learning together!


