Bitbucket is a web-based version control repository hosting service that supports Git, allowing users to manage their Git repositories efficiently and collaborate on projects.
git clone https://username@bitbucket.org/username/repository.git
Understanding Git and Bitbucket
What is Git?
Git is a distributed version control system that facilitates collaboration among developers by tracking changes in source code. It allows multiple people to work on a project simultaneously without overwriting one another's contributions. Key features include:
- Commit History: Every set of changes is recorded as a commit, providing a complete history of the project.
- Branching and Merging: Developers can create branches to work on new features or bug fixes. These branches can later be merged back into the main codebase.
- Collaboration: Git enables multiple developers to work on the same project concurrently, making it an essential tool in modern software development.
The importance of version control cannot be overstated; it helps in maintaining a clean project history, facilitating collaborative work, and allowing for easy rollback to previous versions if needed.
What is Bitbucket?
Bitbucket is a Git repository hosting service designed specifically for teams and collaborative software development. It offers several features that set it apart from other platforms like GitHub and GitLab, including:
- Free Private Repositories: Unlike GitHub, Bitbucket offers unlimited private repositories for small teams, making it a favorable option for many.
- Integration with Atlassian Tools: Bitbucket seamlessly integrates with tools like Jira and Trello, providing enhanced project management capabilities.
- Built-in CI/CD: Bitbucket Pipelines allows for continuous integration and delivery directly within the Bitbucket environment, streamlining the development workflow.
Setting Up Bitbucket and Git
Creating a Bitbucket Account
To get started with Git Bitbucket, you first need to create a Bitbucket account. Follow these steps:
- Visit the [Bitbucket website](https://bitbucket.org).
- Click on the "Sign Up" button.
- Fill in the required information (email, username, password) and choose whether you want a personal or team account.
Once your account is created, you'll have access to the Bitbucket dashboard where you can create and manage repositories.
Installing Git
Installing Git is straightforward and varies by operating system.
- Windows: Download the Git for Windows installer from [git-scm.com](https://git-scm.com) and follow the setup instructions.
- Mac: Git can be installed via Homebrew with the command:
brew install git - Linux: Install Git using your package manager, for example:
sudo apt-get install git
After installation, verify that Git is installed correctly by running:
git --version
Creating and Managing Repositories in Bitbucket
Creating a New Repository
To create a new repository in Bitbucket, take the following steps:
- Log into your Bitbucket account.
- Click the "Create" button and select "Repository."
- Choose a repository name and select Git (instead of Mercurial).
- Set the repository to either private or public based on your preference.
- Click "Create repository."
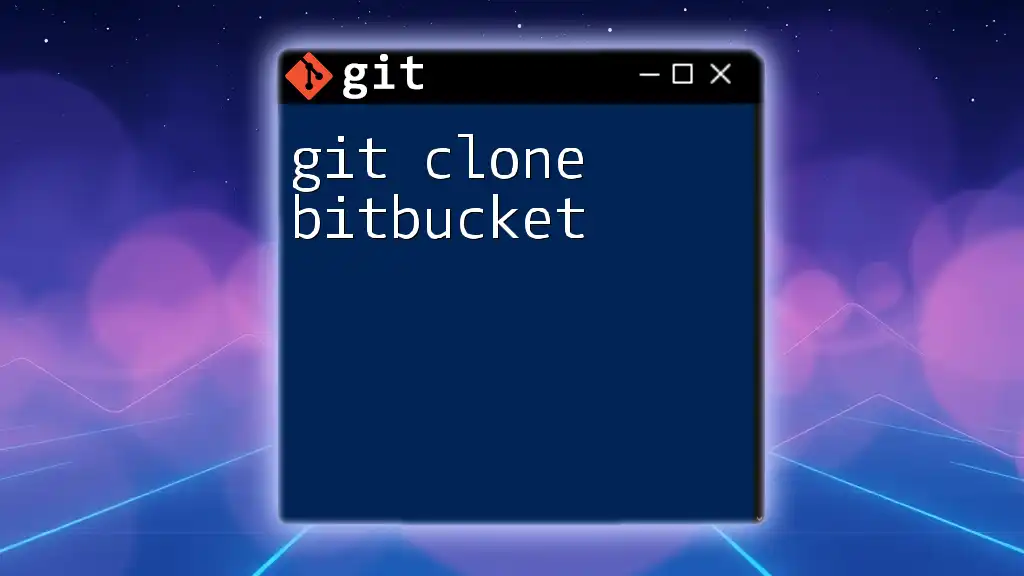
Cloning a Bitbucket Repository
Cloning a repository allows you to download it to your local machine for modification. To clone a Bitbucket repository, copy the HTTPS clone URL from the repository's page and run:
git clone https://username@bitbucket.org/username/repository.git
Replace `username` and `repository` with your actual Bitbucket username and the name of the repository.
Managing Repository Settings
Once your repository is created, you can manage its settings, including:
- Webhooks: Automatically notify external services when certain events occur in your repository (e.g., pushes, pull requests).
- Access Management: Control who can read from or write to your repository.
- Issue Tracking: Enable and manage issue tracking for your project directly in Bitbucket.
Working with Git Commands in Bitbucket Workflow
Basic Git Commands
Familiarity with basic Git commands is crucial when using Git Bitbucket:
-
Adding Changes: To stage changes before committing, use:
git add . -
Committing Changes: After staging, commit your changes with a clear message:
git commit -m "Initial commit" -
Pushing Changes: To upload your local commits to the Bitbucket repository:
git push origin main -
Pulling Changes: To retrieve the latest changes from the Bitbucket repository:
git pull origin main
Branching and Merging
Branching in Git allows you to work independently on separate features or bug fixes. To create and switch to a new branch, use:
git checkout -b new-feature
After completing your work on the new branch, switch back to the main branch and merge your changes:
git checkout main
git merge new-feature
This ensures your main branch remains clean while allowing for ongoing development.
Managing Collaborators and Pull Requests
Once you have collaborators, you can invite them to your Bitbucket repository. To create a pull request (PR) — a request to merge changes from one branch into another — follow these steps:
- Push your branch to Bitbucket:
git push origin new-feature - In Bitbucket, navigate to the repository and click on "Pull requests."
- Select "Create pull request" and fill in necessary details.
- Assign reviewers and click "Create."
Encourage a robust code review process by discussing changes and making necessary adjustments before merging.
Troubleshooting Common Git Issues with Bitbucket
Common Git Errors
While working with Git, you may encounter errors such as merge conflicts. Resolve merge conflicts by following these steps:
- Identify the conflicting files using:
git status - Open the conflicting files, and modify the affected sections to integrate both changes.
- Save the files and stage the changes:
git add . - Finally, commit the resolved changes:
git commit -m "Resolved merge conflict"
Bitbucket-Specific Issues
For Bitbucket users, size limits on repositories can be a concern. Keep your repository optimized by regularly cleaning up unnecessary files or branches. Also, facing rate limits can occur; if you exceed these, consider monitoring your usage and adjusting your API calls.
Best Practices for Using Git with Bitbucket
Organizing Repositories
Properly organizing your repositories is key, especially in larger projects. Consider the following:
- Use clear and consistent naming conventions for branches to clarify their purpose (e.g., `feature/login-form`, `bugfix/fix-error`).
- Regularly prune inactive or obsolete branches to maintain a clutter-free environment within Bitbucket.
Writing Good Commit Messages
Writing clear and descriptive commit messages enhances collaboration and future references:
- Effective message example: "Fix bug in user login validation logic"
- Ineffective message example: "Changes made"
Follow a conventional format such as the one outlined in the following structure: <type>: <subject> (e.g., `fix: correct spelling mistake`). This provides clarity on the nature of the commit.
Regular Workflow Maintenance
Maintaining a regular workflow is crucial for keeping your project on track:
- Regularly update branches and merge changes to avoid extensive conflicts later.
- Schedule periodic code reviews, even for small changes, to ensure quality and adherence to coding standards.
Conclusion
This comprehensive guide on Git Bitbucket should equip you with the knowledge to navigate version control and maximize collaboration within your projects. From setting up your account to managing collaborations and troubleshooting issues, Bitbucket and Git together create a powerful environment for software development. With these skills, you can practice and expand your capabilities as a proficient developer.


