Git LFS (Large File Storage) is an extension for Git that allows you to manage large files efficiently while using Bitbucket as your repository host.
Here's how to set up Git LFS and track a large file in your Bitbucket repository:
git lfs install
git lfs track "*.psd"  # Example for tracking Photoshop files
git add .gitattributes
git add path/to/your/large/file.psd
git commit -m "Add large file"
git push origin main
What is Git LFS?
Understanding Large File Storage
Git LFS (Large File Storage) is an extension for Git that dramatically enhances its ability to manage large files. Unlike regular Git, which stores snapshots of all files in the repository, Git LFS replaces large files such as videos, audio files, and high-resolution images with tiny pointer files. This allows Git to keep its performance intact while still handling large assets effectively.
The main benefits of using Git LFS include:
- Reduced Repository Size: By handling large files as pointer references, the overall size of the Git repository remains manageable, ensuring quicker operations such as cloning and fetching.
- Improved Performance: Large binary files can lead to significant slowdowns in standard Git workflows. Using Git LFS resolves these limitations.
- Enhanced Collaboration: Team members can efficiently share large files without struggling with bandwidth and storage issues.

Why Use Git LFS with Bitbucket?
Advantages of Integrating Git LFS and Bitbucket
When utilizing Git LFS with Bitbucket, there are several significant advantages:
- Handling Large Files Efficiently: Specifically designed for large files, Git LFS provides a powerful solution to avoid bloated repositories.
- Bandwidth and Storage Considerations: Bitbucket offers an easy way to store and manage your LFS files while keeping track of your storage limits and bandwidth, minimizing overhead and costs.
- Impacts on Collaboration and Version Control: Using Git LFS facilitates a smoother workflow in collaborative environments, where multiple team members need access to the same large files without overwhelming the system.
Setting Up Git LFS
Prerequisites
Before you start using Git LFS, you need to install it on your machine. The installation process can vary by operating system:
- For Windows: Download the installer from the [Git LFS releases page](https://github.com/git-lfs/git-lfs/releases) and run it. Follow the prompts to complete the installation.
- For macOS: Use Homebrew with the command:
brew install git-lfs - For Linux: Install Git LFS using your package manager, for example:
sudo apt-get install git-lfs
After installation, you need to enable Git LFS in your Git repository.
Initial Configuration
To initialize Git LFS in your repository, run the following command:
git lfs install
Configuring File Types for LFS Tracking
Next, you can specify which file types you want Git LFS to track within your project. For example, if you want to track Photoshop and MP4 files, you would run:
git lfs track "*.psd"
git lfs track "*.mp4"
This command creates or updates the `.gitattributes` file in your repository, associating the specified file types with Git LFS.
Integrating Git LFS with Bitbucket
Creating a Bitbucket Repository for LFS
To start using Git LFS with Bitbucket, you first need to create a new repository. Log in to your Bitbucket account and follow these steps:
- Click on the "Create Repository" button.
- Fill in the necessary details and ensure the Git LFS option is enabled before saving the repository.
Pushing Files to Bitbucket Using Git LFS
After setting up your repository, it's time to push files under Git LFS. The workflow is straightforward:
- Add the tracked files to your staging area and commit:
git add .gitattributes
git add largefile.mp4
git commit -m "Add large video file"
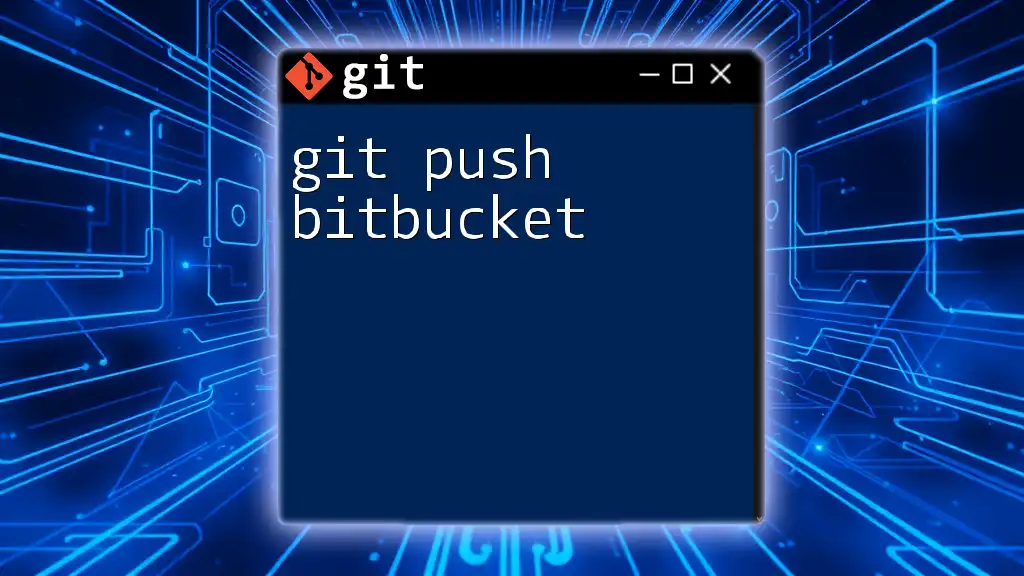
- Push the changes to Bitbucket:
git push origin main
This process uploads your large files, while Git LFS handles their storage, replacing them with pointer files in your repository.
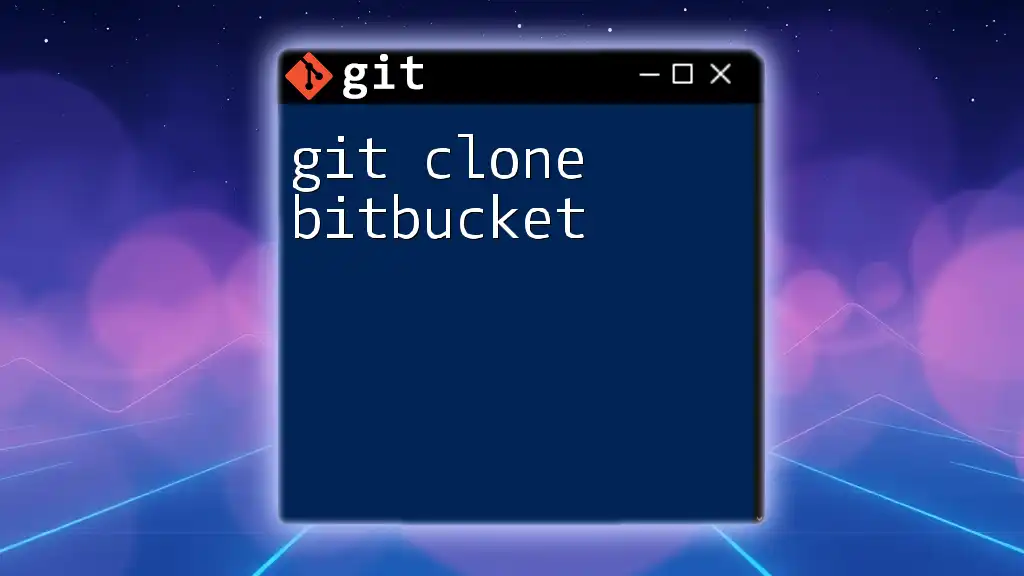
Cloning a Repository with Git LFS
When cloning a repository that uses Git LFS, simply run:
git clone my_repository.git
This command automatically retrieves the LFS files associated with the repository.
Pulling and Fetching LFS Objects
To update your local files after a new commit that has added or modified large files, you can use:
git lfs pull
This command ensures you have the latest content without the need to download all files again.

Common Issues and Troubleshooting
Problems When Using Git LFS with Bitbucket
While Git LFS simplifies large file management, users may encounter some common issues, such as:
- Error Messages: Common errors include "LFS object missing" or "server rejecting LFS".
To resolve these, check that your Git LFS configuration is correct and ensure the large files are being properly tracked and pushed.
FAQs
- What happens if you forget to track a file? If a large file isn't tracked by Git LFS and you attempt to add it, it will be committed like a normal Git file, potentially bloating the repository.
- Can I convert existing files in a repo to LFS? Yes, you can migrate existing large files to LFS using the `git lfs migrate` command to properly re-track them.
- What are the storage limits on Bitbucket for LFS? Bitbucket offers different storage plans for LFS, typically starting around 1 GB for free accounts, but it's important to check Bitbucket's official documentation for the latest limits.
Best Practices for Using Git LFS
Effective Management of Large Files
To make the most out of using Git LFS, regularly monitor your repository size and analyze the file types you are tracking. It’s good practice to limit large files to those that genuinely require LFS treatment.
Collaborating with Team Members
Communication within your team about Git LFS usage is crucial. Ensure that all team members are educated on how to track large files and the importance of consistent workflow practices. Consider holding workshops or creating a standard operating procedure (SOP) for using Git LFS effectively.
Conclusion
Git LFS is an invaluable tool for managing large files in a Git repository, particularly when integrated with Bitbucket. By following the steps provided in this guide, you can streamline your workflow and improve collaboration among team members. Start implementing Git LFS today to keep your repository efficient and manageable. For more tutorials on Git and other version control tips, be sure to subscribe to our content!
Further Resources
For more detailed instructions and insights, refer to the following resources:
- [Official Git LFS Documentation](https://git-lfs.github.com/)
- [Bitbucket Tutorials on Git LFS](https://support.atlassian.com/bitbucket-cloud/docs/use-git-lfs/)
- [Community Forums](https://community.atlassian.com/) for troubleshooting and sharing tips with other users.


