`git lfs prune` is a command used to remove old or unused Large File Storage (LFS) objects from your local repository that are not referenced by any commits, helping to free up disk space.
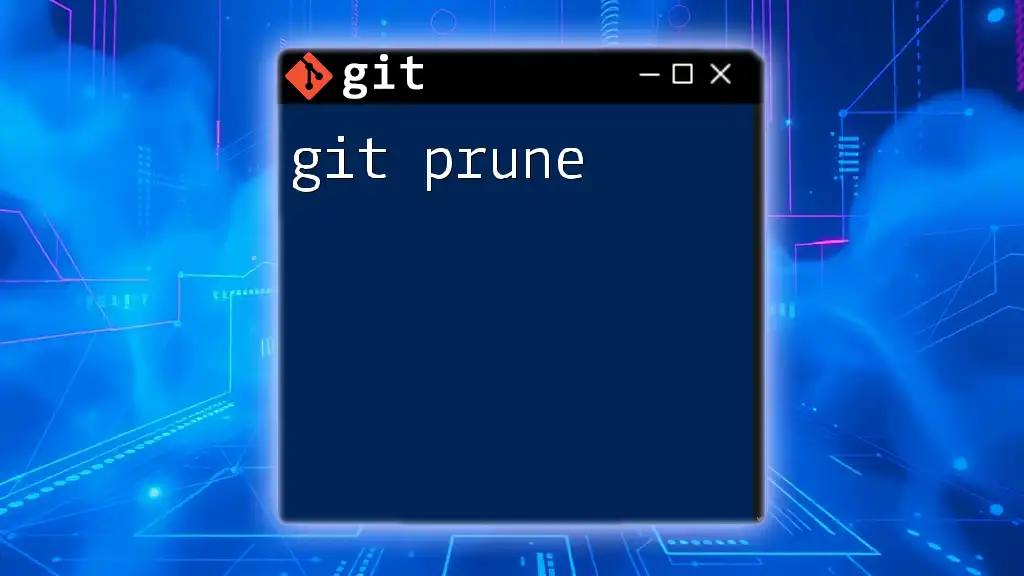
git lfs prune
Understanding Git LFS
What is Git LFS?
Git LFS, or Git Large File Storage, is an extension for Git that enhances its ability to manage large files. Regular Git repositories store everything in the `.git` directory, which can lead to performance issues when working with sizable files like high-resolution images, videos, or datasets. Git LFS addresses these concerns by replacing large files with text pointers inside Git, while the actual file contents are stored on remote servers. This separation greatly improves repository performance and efficiency, making it easier to clone, fetch, and manage large assets.
Why Use Git LFS?
Using Git LFS offers several benefits:
- Improved Repository Performance: By storing large files externally, Git can manage small pointer files more rapidly.
- Reduced Cloning and Fetching Times: Only pointers are downloaded, resulting in faster initial clone times, especially in projects with many large files.
- Version Control for Large Assets: Just like regular files, large files tracked by Git LFS are versioned, allowing you to maintain historical versions without excessive repository bloat.
What is `git lfs prune`?
Definition and Purpose
The command `git lfs prune` is used to clean up your Git LFS storage by removing unused or orphaned files. When you delete files from your repository or when old versions are no longer needed, these files often linger in your LFS storage, taking up valuable space. `git lfs prune` identifies these unreferenced files and purges them, freeing up space and ensuring your LFS storage remains manageable.
How `git lfs prune` Works
When executed, `git lfs prune` scans your LFS storage and compares it against the current references in your Git repository. Any files that are not referenced by the current branches or tags in the repository are considered orphaned and can thus be safely removed. This process is similar to Git's own garbage collection but specifically tailored for LFS-managed files.
Prerequisites for Using `git lfs prune`
Installing Git LFS
Before using `git lfs prune`, ensure that Git LFS is installed on your system. Installation is straightforward across various platforms.
To install Git LFS:
- Visit the [official Git LFS website](https://git-lfs.github.com/) and download the installer for your operating system.
- Follow the installation instructions provided for your specific platform.
Once installed, you can verify the installation with the command:
git lfs version
Configuring Git LFS
After installation, initialize Git LFS in your repository to start tracking large files. Running the following command will set up Git LFS:
git lfs install
You then need to specify which file types you want Git LFS to track. For example, to track all MP4 video files, use:
git lfs track "*.mp4"
Ensure to add or commit the changes to the `.gitattributes` file that Git LFS creates as it tracks your large files.
How to Use `git lfs prune`
Step-by-Step Instructions
Using `git lfs prune` is quite simple. You can execute it with the command:
git lfs prune
This will initiate the pruning process and remove any unreferenced LFS objects from your local storage.
Explanation of Options and Flags Available
The `git lfs prune` command comes with several options that can help customize its execution:
- `--dry-run`: This option allows you to preview what files would be pruned without actually deleting them. It’s a safe way to check before executing the prune.
git lfs prune --dry-run
- `--verbose`: If you wish to see detailed output while running the command, add the verbose flag. This will provide insights into what exactly the command is doing.
Examples of `git lfs prune`
Consider a scenario where you have a Git repository with various LFS-tracked files. Using `git lfs ls-files` will list currently tracked files. For example, the output might resemble:
123abc0001 * path/to/large_file1.mp4
123abc0002 * path/to/large_file2.mp4
After you run `git lfs prune`, you will see a reduction in storage if there are unreferenced files.
For instance:
git lfs prune
You might receive outputs indicating which files were removed, confirming that the process worked as intended.
When to Execute `git lfs prune`
Best Practices
While `git lfs prune` is a handy command, timing is essential for its execution. It’s advisable to run prune after significant changes to your repository, such as after:
- Merging branches with substantial deletions or additions of large files.
- Conducting a cleanup of branches that are no longer needed.
Adopting a regular pruning schedule can also be beneficial, especially in repositories with frequent large file updates.
Safety Measures
Before executing `git lfs prune`, consider taking safety precautions:
- Create Backup: Always back up critical data before running a prune, just in case.
- Use `--dry-run`: Ensure to use the `--dry-run` flag first. It allows you to preview the files that will be pruned, reducing the risk of unintentional data loss.
git lfs prune --dry-run
By checking what will be deleted before executing the full command, you can confirm that no important files are inadvertently removed.
Troubleshooting Common Issues
Errors and Solutions
When running `git lfs prune`, you might encounter issues such as:
- "some LFS files are still in use": This error means that LFS objects are still referenced by your local branches or tags. To resolve this, you would need to check out the branch where the files are being used or delete those branches if they are no longer needed.
Checking LFS Status
To monitor your LFS file statuses, use:
git lfs status
This command provides insights into which LFS files are being tracked and their current state in relation to your repository. Using this command regularly can help maintain clarity in your LFS management and assist in identifying files that may not be needed anymore.
Conclusion
Managing large files in your Git repository efficiently is vital for optimal performance. The `git lfs prune` command offers an effective means to clean up unused LFS storage, ensuring that your repository remains lightweight and manageable. By understanding how to use this command effectively and when to apply it, you can enhance your Git workflow significantly.
Always consider running a `--dry-run` before executing actual pruning to make sure you’re not inadvertently deleting crucial files. With these strategies in place, you can leverage Git LFS and its pruning capabilities to keep your projects running smoothly and efficiently.
Additional Resources
For those looking to deepen their understanding of Git and Git LFS, there are a wealth of resources available online. The official Git LFS documentation is an excellent place to start. Tutorials, community forums, and Git’s own documentation can further assist in mastering Git commands and functionalities.
Call to Action
If you found this guide helpful, subscribe to our newsletter for more tips on mastering Git and become proficient in using Git commands with ease. Whether you’re a beginner or looking to brush up on your skills, there’s always something new to learn!


