In Git, tracking a file means adding it to the staging area to prepare it for a commit, which can be done using the command:
git add <filename>
Replace `<filename>` with the name of the file you want to track.
Understanding Git Tracking Concepts
What Does It Mean to "Track" a File?
In Git, to track a file means that Git is aware of its existence and monitors changes made to it. When a file is tracked, any modifications you make are recorded by Git, allowing you to revert, stage, or commit those changes later. Conversely, untracked files are ignored by Git unless explicitly added to what’s known as the staging area.
Why Tracking Files is Important
Tracking files plays a vital role in version control. Here are some key reasons why it matters:
- Change Management: By tracking files, you can easily manage changes over time, ensuring that you have a comprehensive history of your project's evolution.
- Collaboration: In a team setting, tracking files allows multiple people to work concurrently on the same project without overwriting each other's changes.
- Reversion: Tracking gives you the ability to revert to previous file states if something goes wrong, ensuring your workflow remains smooth and efficient.
Getting Started with Tracking Files
Initializing a Git Repository
Before you can track files, you must first initialize a Git repository. This sets up the necessary structures Git needs to begin tracking your files. You can do this by running:
git init
This command creates a hidden `.git` directory in your project folder, containing all the necessary files for version control.
Checking the Status of Your Files
After initializing your repository, it’s essential to check the status of your files. Use:
git status
This command provides a summary of your working directory. It shows which files are tracked and which are untracked, helping you understand your starting point.
Tracking New Files
Adding a File to the Staging Area
To track a new file, you need to add it to the staging area, which is a temporary space where changes are stored before being committed. For this, the command is:
git add <filename>
By executing this command, you inform Git to start tracking the specified file. For example, if you created a file called `example.txt`, running `git add example.txt` will mark it as tracked.
Understanding the Staging Area
The staging area is crucial in Git’s workflow. It acts as a buffer between your working directory (where you make changes) and your repository (where changes are committed). Files can be in three states:
- Tracked: These files are in the repository and Git monitors for changes.
- Untracked: New files that you haven’t added to Git yet.
- Ignored: Files Git is configured to ignore via a `.gitignore` file.
Modifying Tracked Files
Making Changes to Tracked Files
Once a file is tracked, Git automatically updates its status whenever you make changes. To see how this works, you can modify a tracked file:
echo "New content" >> <filename>
git status
After running this, you will see your file listed as modified when executing `git status`. This indicates that changes have been made and that the file is still tracked by Git.
Adding Changes to the Staging Area
To get the modified file ready for a commit, you need to add it to the staging area again:
git add <filename>
Adding a modified file marks it for inclusion in the next commit. If you are dealing with multiple changes across various files, you can stage changes selectively using the command:
git add -p
This command allows you to interactively stage chunks of changes, providing greater control over what gets committed.
Committing Tracked Files
How to Commit Changes
Committing is the final act of saving changes tracked by Git. To commit changes, you use:
git commit -m "Your commit message"
It’s essential to write clear and meaningful commit messages as these act like annotations, explaining what changes have been made and why.
For instance, you might commit a file with a message like:
git commit -m "Fix typo in example.txt"
What Happens After Committing
After a commit, the changes become part of the project’s history. Git creates a snapshot of your project at that point in time, making it easy to revert back to later if necessary. Each commit is associated with a unique hash that allows tracking individual changes effectively.
Removing and Ignoring Tracked Files
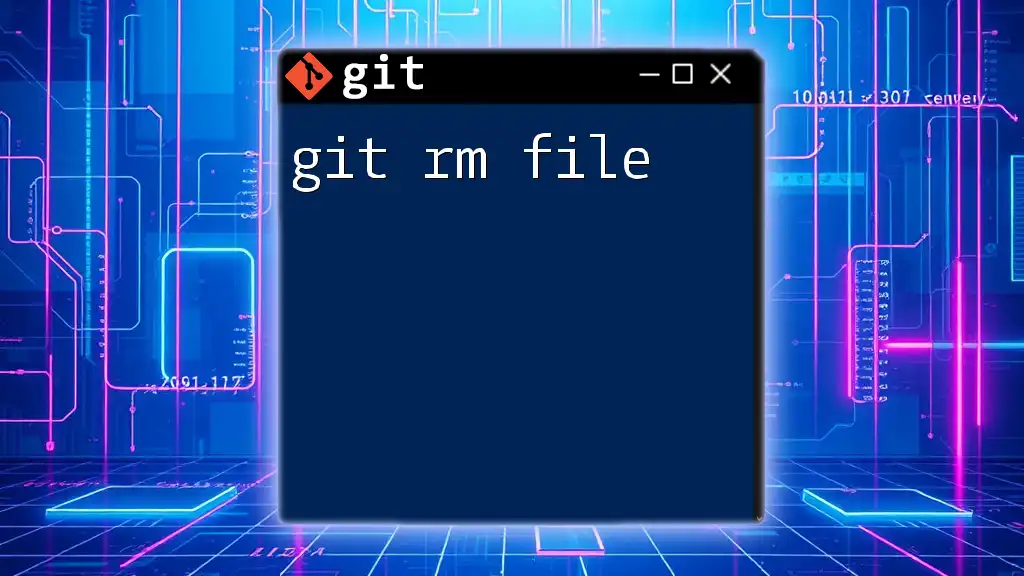
How to Remove a File from Tracking
If you decide to stop tracking a file but want to keep it in your working directory, you can use:
git rm --cached <filename>
This command removes the specified file from the staging area and the next commit, while leaving the actual file unaffected on your file system.
Ignoring Files
To prevent certain files from being tracked by Git entirely, you can create a .gitignore file. Any files listed in this file will be ignored by Git. For example:
echo <filename> >> .gitignore
Using `.gitignore` helps you manage which files should not clog your version control, such as logs or environment configurations specific to your local setup.

Best Practices for Tracking Files in Git
Organizing Your Project
A well-structured project not only helps in tracking files but also enhances readability and maintainability. Use consistent naming conventions and folder structures to keep your repository clean and organized.
Using Branches for Better Tracking
Branches are powerful tools in Git that allow you to manage different lines of development. By creating a new branch, you can work on features or fixes without affecting the primary branch, ultimately keeping your main codebase intact. You can create a new branch using:
git checkout -b <new-branch>
This command sets up a new branch based on your current working branch. Once complete, you can merge those changes back, keeping a streamlined version history.
Conclusion
In this guide, we explored the fundamental aspects of how to track files in Git, including initiating repositories, adding and committing changes, managing file states, and implementing best practices for effective version control. Mastering the art of tracking files in Git is essential for smoother workflows, especially as projects grow in complexity. With practice, you will become proficient in utilizing Git commands to manage your files efficiently. Discover more about Git’s robust capabilities and take your version control skills to the next level!
Further Reading and Resources
For those who wish to dive deeper into Git, consider exploring additional resources that cover advanced topics and techniques. Recommended materials include informational websites, books, or comprehensive tutorials that enhance your learning experience in version control.


