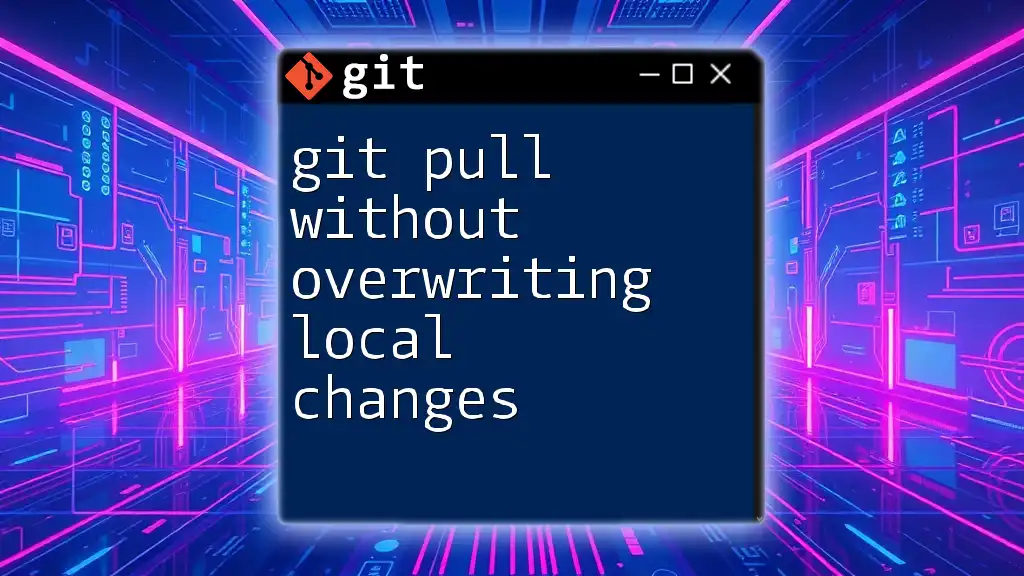
To update your local branch with changes from the remote branch without overwriting your local modifications, you can use `git stash` to temporarily save your local changes, followed by `git pull`, and then reapply your changes with `git stash pop`.
git stash
git pull
git stash pop
Understanding `git pull`
What is `git pull`?
`git pull` is a crucial command in Git, designed to update your local repository with changes from a remote repository. When you execute this command, you are essentially performing two operations at once:
- Fetching updates from the remote repository, which means that Git collects any new data that has been added since your last interaction.
- Merging those updates into your current branch, integrating the fetched changes with your local modifications.
This streamlined approach enables developers to keep their local repositories aligned with remote repositories, but it also poses risks if you have uncommitted changes or divergent work.
Risks of Overwriting Local Changes
One of the greatest challenges when using `git pull` is the potential for losing local changes. If you have unsaved modifications in your work directory and you attempt to pull new commits from the remote, Git may overwrite your local changes leading to potential data loss. To avoid such mishaps, it’s essential to understand how to safeguard your work before pulling updates.
Strategies for Pulling Changes without Overwriting
Commit Your Changes First
One of the simplest and most effective methods to prevent loss of local changes is to commit your changes first. Doing so creates a snapshot of your current state, preserving your progress.
To commit your local changes, run:
git add .
git commit -m "Your commit message here"
Make sure your commit message is descriptive enough to provide context about the changes. After successfully committing, you can safely run `git pull` without fearing for your local modifications.
Stash Your Changes
When you’re not ready to commit your changes but still need to pull updates, using Git Stash is an excellent alternative. Stashing allows you to save your current modifications in a "stash" so you can apply it later.
To stash your changes, you can use:
git stash save "Descriptive message"
This command will store your local changes temporarily, reverting your working directory to match the last commit. After stashing, you can perform your `git pull` without overwriting your changes.
Once you’ve pulled the new changes, you can apply the stashed modifications back to your working directory by running:
git stash apply
This brings back all the changes you previously stashed. If you decide that you no longer need the stashed changes, you can drop the stash with:
git stash drop
Rebase Instead of Merge
Another efficient method for handling updates while preserving your local changes is to perform a rebase instead of a merge. Rebasing allows you to apply changes from the upstream branch onto your local commits, maintaining a linear project history.
To pull changes while rebasing, you can execute:
git pull --rebase origin main
With this command, your local commits will be temporarily placed on hold. Git will then apply the latest updates from the remote branch, and after successfully pulling, it will reapply your local changes on top of the new history. This prevents the extra commit that occurs with a traditional merge and helps maintain a clear project history.
Handling Merge Conflicts
What are Merge Conflicts?
Sometimes, even with the best practices, you may encounter merge conflicts. This situation arises when Git is unable to automatically reconcile differences between your local changes and the fetched updates. The files containing conflicts will be marked by Git, indicating exactly where the discrepancies are.
Techniques to Resolve Merge Conflicts
To address merge conflicts, follow these steps:
-
Identify the conflicting files by checking the status:
git status -
Open the files marked with conflicts and review the sections marked by conflict indicators `<<<<<<<`, `=======`, and `>>>>>>>`. These markers display both your local changes and the incoming changes, allowing you to manually choose what to keep.
-
Edit the files to resolve the conflicts, removing the conflict markers and ensuring the file contains the desired content after you’ve reconciled the differences.
-
Once conflicts are resolved, stage the resolved files:
git add <filename> -
Finally, complete the merge by committing your changes:
git commit -m "Resolved merge conflicts"
Best Practices for Avoiding Conflicts
To minimize the occurrence of merge conflicts, there are a few best practices you can adopt:
- Communicate regularly with your team regarding major changes.
- Pull frequently to integrate updates from the remote repository, ideally before making your local changes.
- Make smaller, regular commits to help keep track of changes more effectively.
Conclusion
In summary, mastering the `git pull` command without overwriting local changes is paramount to maintaining an efficient workflow. Whether you choose to commit, stash, or rebase, understanding these strategies will ensure you keep your progress secure while collaborating with others. Regular practice and adherence to best practices will enhance your Git experience, allowing you to focus on writing great code instead of worrying about losing your work.
Additional Resources
For deeper insights into Git commands and workflows, check out the official Git documentation or consider enrolling in user-friendly tutorials and workshops designed to sharpen your skills.
Call to Action
If you found this guide helpful, feel free to leave your comments or questions below! Subscribe to our platform for more practical tips and tutorials on Git commands to enhance your coding journey.


