A Git public repository is a version-controlled project that is accessible to anyone on the internet, allowing them to view, clone, or contribute to the code.
Here’s how to create a public repository on GitHub using the command line:
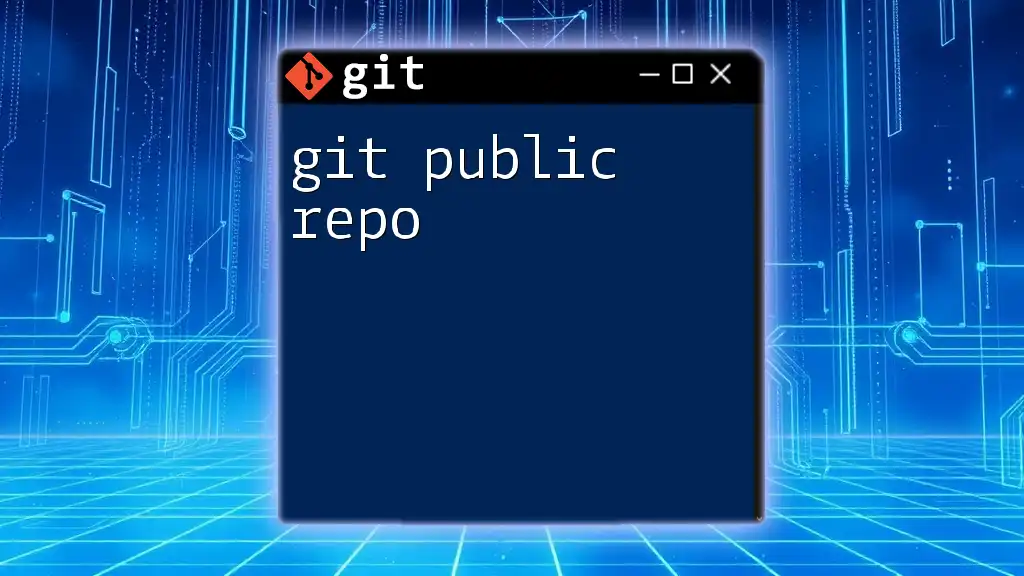
git init my-public-repo
cd my-public-repo
git remote add origin https://github.com/username/my-public-repo.git
git push -u origin master
Understanding Public Repositories
What is a Public Repository?
A public repository in Git is a storage space where your code and files are accessible to anyone on the internet. This type of repository allows for open collaboration, enabling others to view, copy, and even contribute to your project. One of the major advantages of utilizing public repositories is the opportunity for collaboration. Developers and contributors from around the world can easily access your work, suggest improvements, and contribute code.
In contrast, private repositories restrict access to a select group of users, limiting visibility and collaboration. Choosing between public and private depends on the nature of your project and whether you wish to share your work with the broader community.
Use Cases for Public Repositories
Public repositories are ideal for several scenarios:
- Open-source projects: Public repositories encourage collaboration from multiple developers, leading to faster progress and better code quality.
- Individual portfolios: Developers can showcase their skills, code quality, and creativity by making projects publicly available, which is invaluable when job hunting.
- Educational purposes: Many educators opt for public repositories to share learning materials and coding examples, making it easier for students to access the information.
Setting Up a Public Repository
Creating a Public Repository on GitHub
To start your journey with a git public repo, follow this simple process to create one on GitHub.
- Sign in to your GitHub account.
- Click on the "+" icon in the upper right corner and select "New repository."
- Fill in the repository name, description, and select the "Public" option under repository visibility.
- Optionally, initialize the repository with a README file, which serves as a crucial introduction to your project.
Once created, you can initialize it locally by opening your terminal and using:
git init new-repo
After making changes locally, push the repository to GitHub with:
git remote add origin https://github.com/username/repo.git
git push -u origin master
Setting Visibility Options
During the creation process, it’s critical to select the visibility option as Public. Doing so allows anyone to view or fork your repository. Understanding these settings enhances your ability to share and collaborate effectively.
Managing Your Public Repository
Cloning a Public Repository
To work on an existing git public repo, you can clone it to your local machine. This allows you to make changes and create new features locally. To clone a repository, use the command:
git clone https://github.com/username/repo.git
This command creates a copy of the repository on your machine, allowing you to navigate it just like any other directory.
Adding Files to Your Public Repository
Adding files to your repository is straightforward. Use the following commands to include any changes:
git add .
git commit -m "Initial commit"
The `git add .` command stages all your changes, making them ready to be committed. The `git commit` command records those changes with a meaningful message, ensuring clarity for collaborators and future reference.
Maintaining Your Public Repository
Regular maintenance is essential to keep your repository clean and organized. This includes updating dependencies, fixing bugs, and improving documentation. Documenting your changes through insightful commit messages is crucial. It enables others to understand what has been changed when reviewing your project later.
Collaborating with Others
How to Collaborate on a Public Repository
Collaboration is one of the primary reasons for using public repositories. Invite contributors by sharing your repository link, enabling others to fork or clone your project. Understanding the roles and permissions associated with your repository is vital, as it helps manage who can suggest changes and contribute code.
Pull Requests and Forking
When collaborating, contributors can fork your repository to create their own copy. After making changes, they can submit a pull request to propose their updates. To create a new branch for a feature before making changes, use:
git checkout -b new-feature
This command allows you to work separately from the main codebase, reducing the risk of introducing bugs.
Addressing Contributions
When receiving contributions via pull requests, reviewing these requests is essential. Be sure to provide constructive feedback and merge the agreed-upon changes. To merge branches after review, you can execute:
git merge new-feature
This process integrates the contributions while ensuring the main codebase remains stable.
Branching Strategies for Public Repositories
Basic Branching in Git
Branching is a powerful feature in Git, allowing you to create isolated environments for work. When you want to experiment or develop a new feature without affecting the main codebase, create a branch:
git branch new-branch
git checkout new-branch
This process helps keep the main branch clean and production-ready while allowing for ongoing development in a separate space.
Best Practices for Branching in Public Repositories
Utilizing effective naming conventions for branches is crucial in a collaborative environment. For instance, use names that reflect the purpose of the branch, such as `feature/login-page` or `bugfix/login-error`, making it easier for collaborators to understand the branch's intent.
Licensing Your Public Repository
Importance of Licensing
Licensing is an essential component of maintaining a public repository. It clearly dictates how others can use, modify, and distribute your code. A well-defined license promotes collaboration while protecting your rights as a developer.
How to Choose and Add a License
When selecting a license, consider factors like whether you want your code to be used commercially or if you wish to impose restrictions on modifications. Popular licenses include MIT, Apache 2.0, and GPL, each with its implications.
To add a license to your repository, create a file named LICENSE and include the full text of the chosen license. For example:
touch LICENSE
echo "MIT License" > LICENSE
Adding a license file ensures everyone knows how to interact with your repository legally.
Conclusion
In this guide, we've explored the essential elements of creating and managing a git public repo. We've delved into the benefits of public repositories, how to set them up, collaborate, maintain them, and the importance of licensing.
We encourage you to explore the world of public repositories and seize the opportunities they offer for sharing your work, collaborating with others, and contributing to the vibrant open-source community.
Additional Resources
To further enhance your experience with git public repos, consider exploring helpful tools like the GitHub CLI or GitKraken. These tools can make managing repositories easier and more efficient.
Additionally, always seek out further learning materials and documentation available online, which can deepen your understanding and proficiency in using Git effectively.


