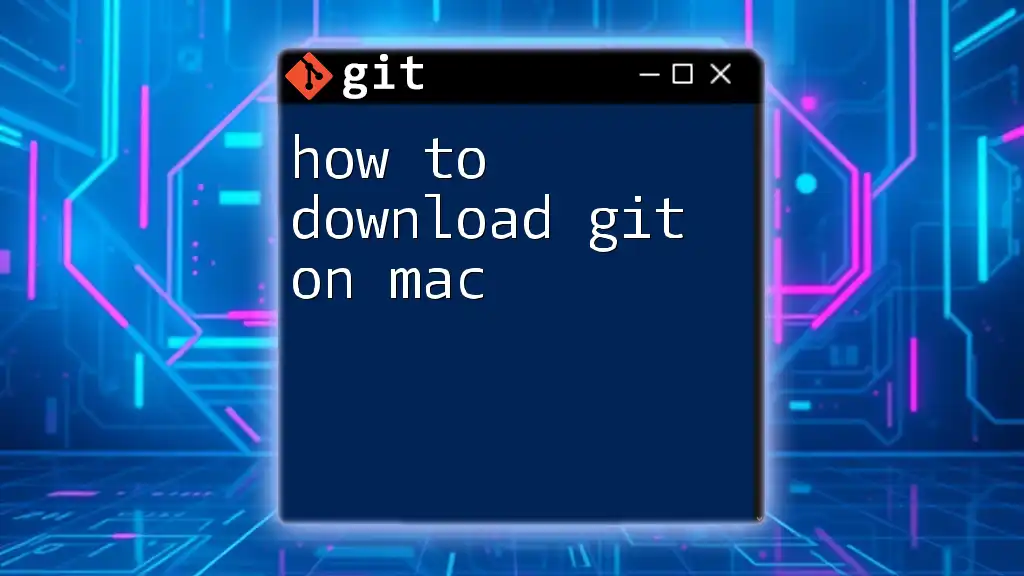
To download and install Git on a Mac, you can use the Homebrew package manager by running the following command in your terminal:
brew install git
Understanding Git
What is Git?
Git is a powerful distributed version control system designed to handle everything from small to very large projects with speed and efficiency. Unlike traditional version control systems, Git allows multiple developers to work on different parts of the same project simultaneously. This capability makes it an essential tool for anyone involved in software development, project management, or collaborative work.
Why Use Git on Mac?
Using Git on macOS provides several advantages, including:
- Native support for open-source software, ensuring an efficient environment for development.
- Seamless integration with popular development tools like Xcode, Visual Studio Code, and others, enhancing productivity.
Pre-Installation Requirements
Checking Your macOS Version
Before you start the installation process, it’s crucial to ensure your Mac is running a compatible version of macOS. To check your macOS version:
- Click on the Apple logo in the top left corner.
- Select About This Mac.
Make sure your version is up to date for the best compatibility with Git.
Installing Xcode Command Line Tools
Git requires the Xcode Command Line Tools for most installations. These tools provide all the necessary compilers and libraries needed to build software on your Mac. To install Xcode Command Line Tools:
-
Open Terminal. You can find it in your Applications under Utilities or search for it using Spotlight.
-
Run the following command:
xcode-select --install
A prompt will appear, and you can follow the instructions to install the tools. This will set you up to use Git along with other command-line utilities.
Downloading Git
Method 1: Using Homebrew
Homebrew is a popular package manager for macOS that allows you to install software quickly and easily. If you don’t have Homebrew, you can install it as follows:
-
Open Terminal.
-
Paste this command and press Enter:
/bin/bash -c "$(curl -fsSL https://raw.githubusercontent.com/Homebrew/install/HEAD/install.sh)"
Once Homebrew is installed, you can quickly install Git by running:
brew install git
To verify that Git has been installed successfully, check the version by typing:
git --version
This command will display the installed version of Git, confirming that it is ready to use.
Method 2: Official Git Installer
If you prefer to go the traditional route, you can also download the official Git installer directly from the Git website. Here’s how:
- Navigate to [git-scm.com](https://git-scm.com) in your web browser.
- Click on the Download button for the macOS version.
- Once the `.dmg` file is downloaded, locate it in your Downloads folder and double-click to open it.
- Follow the installation prompts in the installer.
To ensure that Git has been installed correctly, open Terminal and run:
git --version
This should return the version number of Git you have installed.

Configuring Git after Installation
Setting Up Your Git Identity
Setting your Git identity is vital for version control. When you make commits, Git will associate those commits with your name and email address. You can configure your user information by running the following commands in Terminal:
git config --global user.name "Your Name"
git config --global user.email "your.email@example.com"
This configuration sets your user name and email globally, meaning it will be used for all repositories on your Mac.
Setting Up Default Text Editor
Depending on your workflow, you might want to set a default text editor for Git's commit messages. Here are commands for three popular text editors:
-
For Vim:
git config --global core.editor "vim" -
For Nano:
git config --global core.editor "nano" -
For Visual Studio Code:
git config --global core.editor "code --wait"
By setting this configuration, Git will open your preferred text editor whenever you need to enter a commit message.

Troubleshooting Common Issues
Installation Issues
If you encounter problems during installation, consider checking the installation logs for error messages. It's common for issues to arise from an incomplete or incorrect installation of Xcode Command Line Tools. If you suspect a problem, try reinstalling the tools using the earlier command:
xcode-select --install
If issues persist, look up the specific error message. Many common errors and fixes can be found in Git forums or Stack Overflow.
Verifying Git Installation
Once you’ve installed Git, verifying the installation is a simple process. Open Terminal and type:
git --version
If the installation was successful, this command will display the current version of Git installed on your machine. If you receive a command not found error, ensure that the installation path is set correctly.
![How to Disable Git in VSCode [Quick Guide]](/images/posts/h/how-to-disable-git-in-vscode.webp)
Conclusion
By following this guide on how to download Git on Mac, you can easily establish a robust environment for version control. Whether using Homebrew or the official installer, the process is straightforward, allowing you to set up Git and start managing your code efficiently. Don’t forget to configure your identity and preferred text editor to fully harness Git's capabilities.

Additional Resources
For further learning, you may want to reference these useful links:
- [Official Git Documentation](https://git-scm.com/doc)
- [Homebrew Documentation](https://docs.brew.sh/)
If you have questions or seek support, consider joining online forums and communities such as Stack Overflow, where many developers share their experiences and troubleshooting advice.
Call to Action
Now that you have Git up and running, don’t hesitate to experiment by creating your first repository. If you feel ready to dive deeper into Git's functionalities, we invite you to explore our comprehensive training courses designed to enhance your version control skills!


