The `git rm` command is used to remove files from the working directory and the staging area, effectively untracking them from your Git repository.
Here’s a code snippet demonstrating this command:
git rm <file_name>
Replace `<file_name>` with the name of the file you wish to remove.
Understanding Git and Version Control
What is Git?
Git is a distributed version control system that allows multiple developers to work on a project simultaneously without fear of stepping on each other's toes. It was developed by Linus Torvalds in 2005 and has since become the de facto standard for version control in software development. Git’s power lies in its robust branching and merging capabilities, enabling teams to manage changes effectively and maintain a comprehensive history of their project files.
The Role of Version Control
Version control systems (VCS) track changes in files and allow multiple contributors to collaborate efficiently. With Git, every change is logged, which not only facilitates collaboration but also adds a layer of security by making it easier to revert to previous file versions when necessary. Using Git, developers can work on features, fix bugs, and experiment with ideas safely without jeopardizing the integrity of the main codebase.

The `git rm` Command Explained
What Does `git rm` Do?
The `git rm` command is designed to remove files from both your Git repository and your working directory. It essentially tells Git to stop tracking the specified files, making it an essential tool for file management within your repositories. Unlike simple file deletion, which could lead to appending untracked files to your Git history, `git rm` ensures a clean separation from version control.
Syntax of the `git rm` Command
The basic syntax of the `git rm` command looks like this:
git rm <file_name>
This command has several useful options that can modify its behavior, such as:
- `--cached`: Unstages the file while leaving it in the working directory.
- `-r`: Recursively removes files in a directory.
Understanding this command's syntax is crucial for effectively managing your repository.

Using `git rm` to Remove Changes
Removing Files from Staging and Working Directory
To remove files and stop tracking them entirely, simply use:
git rm <file_name>
For example, if you added a file called `temp_file.txt` by mistake, running the above command will remove it from both your working directory and initiated changes. This is useful when you need to clean up files that should not have been included in the version control process.
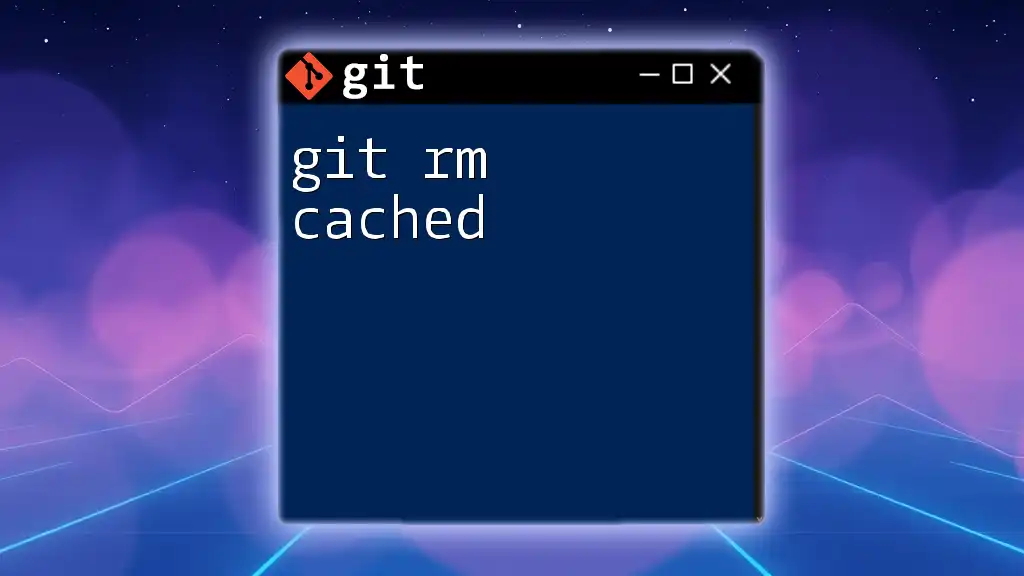
Removing Files from the Staging Area Only
If you find that you've staged a file but don’t want to delete it from your working directory, you can unstage it without loss using:
git rm --cached <file_name>
Consider a scenario where you accidentally staged a secret configuration file; using the above command allows you to unstage it while leaving the file intact on your hard drive.
Advanced Uses of `git rm`
Removing Multiple Files
Sometimes, you may want to remove several files at once. In this case, you can provide multiple filenames with the `git rm` command:
git rm <file1> <file2> <file3>
For instance, if you're cleaning up old resource files no longer needed in your project, using this syntax simplifies the task.
Wildcards and Patterns in `git rm`
Git also supports wildcards for batch removal. By using:
git rm *.txt
you can efficiently delete all text files in the current directory. This is particularly useful for project pruning, such as when you realize that temporary files from a prior build process were committed by oversight.
Using `git rm` with Directories
When you need to remove an entire directory and all its contents, employ:
git rm -r <directory_name>
This command recursively deletes directories, making it ideal for eliminating outdated features or components that are no longer part of your project architecture.

Reverting Changes Made by `git rm`
Undoing Remove Commands
If you've used `git rm` but changed your mind after the fact, you can revert to the state of the file before the delete operation. Use:
git checkout HEAD <file_name>
This command restores your file from the last commit, ensuring that no data is permanently lost from your project.
Using Git's History to Restore Files
To recover deleted files from a specific commit, you can leverage Git’s history. Execute:
git checkout <commit_hash> -- <file_name>
This would let you pull the file back from a specific commit's state, which is invaluable when you realize that the deletion affected a crucial component of your project.
Best Practices for Using `git rm`
When to Use `git rm`
Utilizing `git rm` is essential when you want to ensure that changes in the version control system align with the physical files on your system. Always assess whether file removal will affect other team members and project needs before executing this command.
Common Pitfalls to Avoid
Be cautious not to run `git rm` in a haphazard manner. Remember to double-check whether you need to back up files before deletion, particularly on shared repositories. Understanding your project's current state and consulting your team can prevent potential headaches down the line.

Conclusion
Understanding how to effectively use the `git rm` command allows for better file management within your projects. From removing unwanted files to correcting mistakes, mastering `git rm` will deepen your command over Git and enhance collaboration with your peers. Regular practice with the command ensures a smoother workflow and capitalizes on the strengths of version control.

Additional Resources
For further mastery of Git, consider delving into the [official Git documentation](https://git-scm.com/doc) or explore various tutorials and courses available online. These resources, along with practical experience, will prepare you to navigate Git confidently, ensuring success in your version control endeavors.


