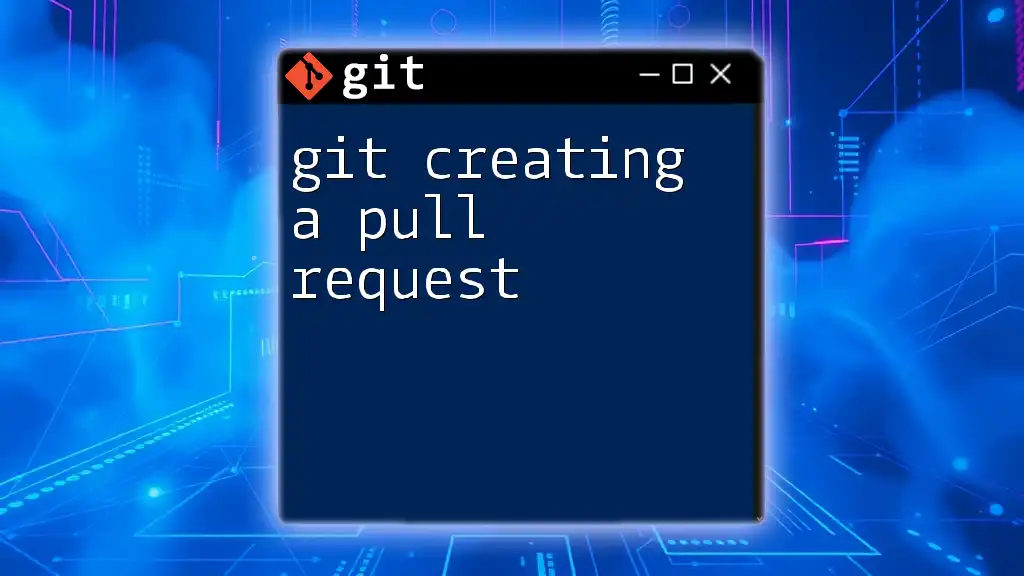
A pull request in Git is a request to merge changes from one branch into another, typically used in collaboration with others where you propose your changes for review.
Here’s a simple command to create a pull request using GitHub's CLI:
gh pr create --title "Your Pull Request Title" --body "Description of your changes"
Understanding Pull Requests
What is a Pull Request?
A pull request (PR) is a method of submitting contributions to a software project. It allows developers to notify project maintainers about changes they have pushed to a branch in a repository. The key purpose of a pull request is to facilitate code review and ensure that changes are discussed before they are integrated into a parent branch, typically the main or master branch.
To illustrate, you might think of a pull request like submitting an essay for review. Before the essay is accepted and published, it undergoes scrutiny for grammar, structure, and logic. In the same way, pull requests invite review and feedback on code changes before they become part of the official project.
When to Create a Pull Request
Knowing when to create a pull request is crucial for maintaining a smooth development workflow. You should consider creating a pull request when:
- You've completed a feature or fixed a bug.
- You want collaborators to review your changes to ensure they're well-structured and functioning as expected.
- Your changes are ready to be merged into the main branch after passing tests.
Best practices for timing your pull request include ensuring that your branch is up to date with the main branch and appropriately named (e.g., `feature/add-login`, `bugfix/correct-typo`).
Preparing for a Pull Request
Setting Up Your Local Repository
Before creating a pull request, you need to have a local repository set up. Here’s how you can get started:
-
Clone the repository using the command below, replacing `<repository-url>` with your repository's URL:
git clone <repository-url> -
Create a new branch for your feature or bug fix. Always branch off the main branch to keep your changes organized:
git checkout -b <your-feature-branch>
This keeps your changes isolated and allows for easier collaboration, as multiple people can work on different features without interference.
Making Changes to Your Code
Once your branch is set up, you can start modifying the code. Make your changes, and when you're ready to save them, follow these steps:
-
Add the changes you've made:
git add <file-name> -
Commit your changes with a clear, descriptive message that summarizes what you've accomplished:
git commit -m "Descriptive commit message"
This helps others understand the purpose of your changes and is imperative for maintaining a clean project history.
Keeping Your Branch Up to Date
Before creating your pull request, it's important to sync your branch with the base branch (commonly the main or master branch) to avoid potential merge conflicts. Here's how to do it:
-
Fetch the latest changes from the remote repository:
git fetch origin -
Merge the changes into your branch:
git merge origin/main
This ensures that you are merging your branch into the most updated version of the codebase, minimizing conflicts.
Creating a Pull Request
Using GitHub to Create a Pull Request
GitHub makes creating a pull request intuitive. After you have pushed your branch to the remote repository, navigate to the Pull Requests tab on GitHub. Follow these steps to create your PR:
- Click on the “New Pull Request” button.
- Select the base branch and compare it with your feature branch.
Comparing Changes
Before submitting your pull request, carefully review the changes you've made. GitHub provides a visual comparison of the differences, allowing you to ensure everything is as intended.
Filling Out Pull Request Details
When you’re ready to submit your pull request, you will encounter fields that require your attention:
- Title: A concise, clear title summarizing your changes.
- Description: This is your opportunity to explain what changes have been made, why they were made, and any other relevant information.
A detailed description enhances understanding for reviewers, helping them grasp the context. For example:
Added a new login feature to enhance user experience.
- Implemented client-side validation
- Added functionality to create new user accounts
- Updated existing tests to cover new functionality
Submitting the Pull Request
To submit the pull request, simply click the "Create Pull Request" button. If you prefer to use the command line, you can push your branch with:
git push origin <your-feature-branch>
This will also trigger the creation of a pull request in GitHub.
After Creating a Pull Request
Review Process
Once your pull request is created, it enters a review process where team members can comment, ask questions, and suggest changes. This is a significant step that ensures quality assurance before your code is integrated.
Reviewers typically assess:
- Code quality: Is the code clean and maintainable?
- Functionality: Does the code accomplish its intended purpose without errors?
- Best practices: Is the code compliant with the project's coding standards?
Implementing Feedback
Receiving feedback is a natural part of the development process. As you go through your reviewers' comments:
- Make necessary changes based on the feedback.
- Update your branch by adding and committing the revised code:
git add <updated-file> git commit -m "Addressed PR feedback" - Push the updates to your feature branch:
git push origin <your-feature-branch>
Your pull request will automatically update to reflect the new changes.
Merging the Pull Request
After receiving approval, you will likely have multiple options for merging your pull request. The common strategies include:
- Squash and merge: Combines all commits into a single commit.
- Rebase and merge: Rewrites the commit history to apply your changes on top of the base branch.
- Create a merge commit: Creates a new commit that ties together the histories of both branches.
Choosing the correct strategy depends on your team's workflow preferences.
Common Pull Request Scenarios
Resolving Merge Conflicts
Merge conflicts can occur when your branch and the base branch have diverged. In this case, you’ll receive a notification during the merge process. Here’s how to resolve the conflicts:
-
Attempt to merge:
git merge origin/main -
Git will indicate conflicting files. Open these files and manually resolve the conflicts by editing them to the desired code state.
-
After resolving conflicts, add the files back to staging and commit:
git add <file-name>
git commit -m "Resolved merge conflict"
Understanding Labels and Milestones
As you work with pull requests, leveraging labels and milestones helps in categorizing and tracking the status of pull requests. Labels can indicate whether a PR is a bug fix, a feature, or is in need of review, while milestones can signify project phases or goals.
Conclusion
Creating a pull request is a vital part of the collaborative software development process. It facilitates peer review, maintains code quality, and fosters communication among team members. Mastering the art of creating effective pull requests will not only improve your coding skills but also enhance your collaborative efforts in any development environment.
Additional Resources
Explore further resources to build on your Git knowledge, including the official Git documentation, GitHub's guides, and various tutorials available online.


