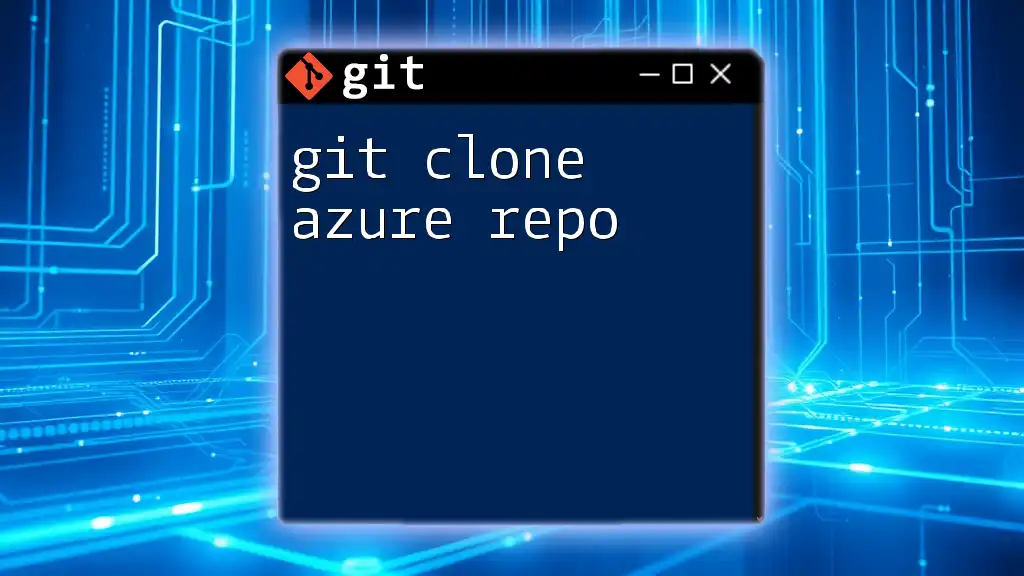
To clone an Azure DevOps repository using Git, you can use the following command to copy it to your local machine.
git clone https://dev.azure.com/your_organization/your_project/_git/your_repository
Make sure to replace `your_organization`, `your_project`, and `your_repository` with the appropriate values for your Azure DevOps setup.
What is Git Clone?
The `git clone` command is a fundamental part of Git's functionality that allows you to create a copy of an existing repository, and it is crucial for collaborating on projects. When you clone a repository, you not only duplicate its files and commits but also create a connection to the remote repository, enabling you to pull in updates and push your changes back.
Prerequisites for Cloning an Azure Repo
Setting Up Azure DevOps Account
Before you can clone a repository from Azure DevOps, you need to have an Azure DevOps account. The process of creating an account is straightforward:
- Visit the [Azure DevOps website](https://dev.azure.com/).
- Sign in with your Microsoft account or create a new one.
- Once logged in, set up a new project or navigate to an existing one that contains the repository you want to clone.
Make sure you have the necessary permissions on the repository to allow for cloning.
Installing Git
To execute the `git clone` command, you need to have Git installed on your machine. Here's how to install Git on various operating systems:
-
Windows: Download and install Git from the [official Git website](https://git-scm.com/).
-
macOS: You can install Git using Homebrew with the command:
brew install git -
Linux: Use your distribution's package manager, such as:
sudo apt install git      # Ubuntu/Debian
sudo dnf install git      # Fedora
After installation, verify that Git was installed correctly by entering the following command in your terminal:
git --version
SSH vs HTTPS: Choosing the Right Method
When cloning an Azure repo, you can choose between SSH and HTTPS methods. Each has its benefits:
-
SSH: More secure for developers who often push changes. To use SSH, you need to generate SSH keys and add them to your Azure DevOps account. To generate SSH keys, use:
ssh-keygen -t rsa -b 4096 -C "your_email@example.com" -
HTTPS: Easier for quick access, especially in environments where SSH keys are not practical. Using HTTPS requires a personal access token for authentication, which you can generate in Azure DevOps.
Choose the method that best fits your workflow.
Steps to Clone an Azure Repo
Getting the Repository URL
To clone an Azure repository, you first need its clone URL. Follow these steps to access it:
- Navigate to your Azure DevOps project.
- Click on Repos.
- Select the repository you want to clone.
- Click on Clone in the top right corner.
- Choose your preferred clone URL format (HTTPS or SSH) and copy it to your clipboard.
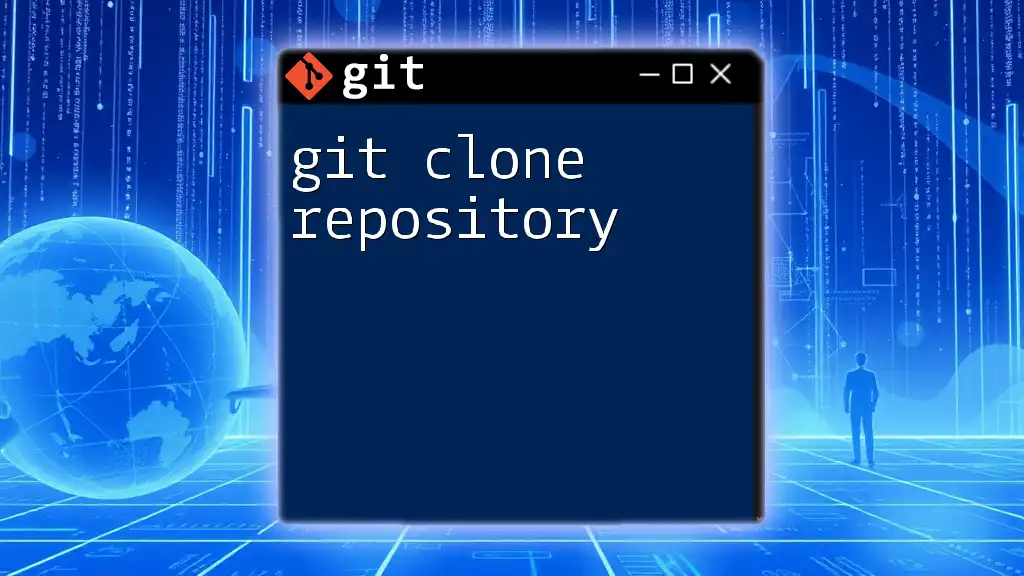
Cloning the Repository
Once you have the clone URL, you can clone the repository by opening a terminal and entering the following command:
git clone <repository-url>
Replace `<repository-url>` with the URL you copied earlier. This command will create a local copy of the repository in your current directory, creating a new folder with the repository name.
Understanding the command:
- `git` is the command-line interface for Git.
- `clone` tells Git to create a copy of the repository.
- `<repository-url>` is the path to where the repository is hosted.

Common Issues When Cloning and How to Resolve Them
Authentication Errors
While cloning, you might encounter authentication errors. These can be due to misconfigured SSH keys or incorrect HTTPS token usage. Here’s how to resolve them:
-
SSH Issues: Ensure your public key is in your Azure DevOps profile under SSH Public Keys.
-
HTTPS Issues: Make sure you are using a valid personal access token and it has the permissions to read the repository.
Clone Depth and Sparse Checkout
In some situations, you may want to clone only a part of the repository history or just specific files. This is where shallow clones or sparse checkouts come in handy:
- Shallow Clone: This can be done with:
git clone --depth 1 <repository-url>
This command clones the repository but limits the history to the most recent commit.
- Sparse Checkout: This allows you to check out only specific files or directories from a repository. After cloning the repo, run:
git sparse-checkout init --cone
git sparse-checkout set <directory-name>
Post-Cloning Steps
Navigating to Your Cloned Repository
After you successfully clone the repository, the next step is navigating into it. Use the terminal to change directories:
cd <repository-name>
Replace `<repository-name>` with the name of the folder created during the clone.
Checking the Repository Status
Once you're inside the repository, it's a good practice to check the status of your local files in comparison to the remote repository. You can do this with:
git status
This command will show you any changes you need to be aware of and the current branch you are on.
Pulling the Latest Updates
If you plan to collaborate with others, ensure your local repository stays up-to-date with the latest changes. Use the following command to pull the latest updates from the original repository:
git pull
This will fetch the changes from the remote repository and merge them into your current branch.
Conclusion
Understanding the `git clone` command is essential when working with Azure Repos. By getting familiar with the cloning process, authentication methods, and common troubleshooting techniques, you'll set a solid foundation for effective collaboration in any development project.
For continuous learning, consider exploring more advanced Git topics, including branching, merging, and pull requests. Engaging with more resources or participating in hands-on training can further enhance your skills.
Further Resources
For additional assistance and learning, consider checking the following links:
- [Official Git Documentation](https://git-scm.com/doc)
- [Getting Started with Azure Repos](https://learn.microsoft.com/en-us/azure/devops/repos/git/?view=azure-devops)
- [Popular Git GUI Tools](https://git-scm.com/downloads/guis) to simplify your Git experience.


