The `git switch -c` command is used to create a new branch and switch to it in a single step.
git switch -c new-branch-name
Understanding `git switch`
What is `git switch`?
The `git switch` command is a relatively recent addition to Git, designed to simplify branch switching and management. Traditionally, branch and file checkout operations were performed using the `git checkout` command, which could be quite confusing due to its multiple functionalities, such as switching branches, viewing files, and more.
By contrast, `git switch` is focused solely on changing branches, providing clarity and reducing the chance of mistakes. It offers a more intuitive interface for users, especially beginners.
Why Use `git switch`?
Adopting `git switch` can drastically improve your workflow in Git for several reasons:
- User-Friendly: It reduces the complexity associated with the `git checkout` command by clarifying the specific action of switching branches.
- Enhanced Clarity: Users can be more confident when executing commands, thus minimizing errors and improving overall productivity.
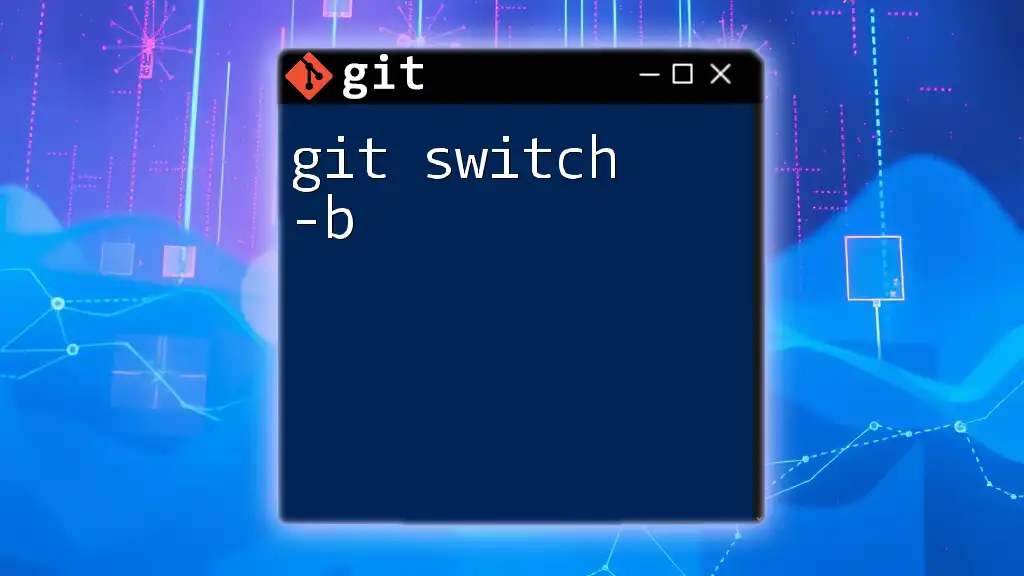
The `git switch -c` Command
What Does `git switch -c` Do?
The `git switch -c` command allows you to create a new branch and switch your working directory to it in one seamless action. The command follows this syntax:
git switch -c <new-branch-name>
This is particularly useful when you want to start working on a new feature or fix a bug without needing to individually create a branch and then switch to it.
Benefits of Using `git switch -c`
- Simplifying Branch Management: The ability to create and switch to a branch simultaneously streamlines your workflow, eliminating the extra step of needing to check out the newly created branch.
- Avoiding Common Errors: By reducing the complexity of commands, the `git switch -c` command minimizes the chances of errors that can occur when using `git checkout`.
How to Use `git switch -c`
Syntax and Basic Use
To use the command, you simply need to specify the new branch name you desire. For instance:
git switch -c feature/new-awesome-feature
This command creates a new branch called `feature/new-awesome-feature` and switches to it immediately.
Example Scenario
Let's visualize a practical scenario. Suppose you have an existing repository and you're ready to start working on a new feature:
- Navigate to your repository's root directory.
- Use the command:
git switch -c feature/new-awesome-feature - Verify that you've switched successfully by listing the branches:
git branch
This command will highlight the new feature branch you just created.
Advanced Usage
Creating a Branch from a Specific Commit
In some cases, you may want to create a branch from a specific commit rather than the current HEAD. You can achieve this by including a commit reference in your command:
git switch -c <new-branch-name> <commit-hash>
For example, if you wanted to branch off a specific commit with the hash `abc1234`:
git switch -c feature/bugfix abc1234
This creates the `feature/bugfix` branch starting at the specified commit, allowing you to work on a specific point in the project’s history.
Combining With Other Flags
In addition to the `-c` option, `git switch` offers other flags for enhanced functionality. One such example is the `--track` option, which can be used to create a new branch that is set to track a remote branch.
Common Mistakes and Troubleshooting
Frequent Errors While Using `git switch -c`
Although `git switch -c` simplifies branch management, there are still common pitfalls to be aware of:
- Error: Branch already exists: If you attempt to create a branch using a name that already exists, you'll encounter an error. To avoid this, always check your branch list first using `git branch`.
- Error: No commit specified: When trying to create a branch from a specific commit without providing the commit hash, Git will prompt an error. Make sure to include the commit reference when necessary.
Solutions to Common Issues
- To mitigate errors, always double-check branch names before executing the command.
- When unsure of your current branches, the command `git branch` can provide clarity.
Best Practices for Using `git switch -c`
Naming Conventions for Branches
When creating a new branch with `git switch -c`, it's important to use meaningful names. Good naming conventions help communicate the purpose of the branch, such as:
- `feature/` prefix for new features.
- `bugfix/` or `hotfix/` prefixes for bug fixes.
- This practice improves collaboration and makes it easier to understand project history.
Organizing Your Branch Structure
For projects with long lifecycles, a well-organized branching strategy is crucial. Consider implementing:
- Feature Branching: Create a new branch for every feature.
- Release Branching: Maintain separate branches for production-ready code.
- Develop Branch: Use a develop branch for integration before merging into the main branch.
Conclusion
In summary, the `git switch -c` command enhances your Git experience by streamlining branch creation and management. Understanding its functionality and incorporating best practices can significantly improve your workflow, allowing for more efficient version control.
Additional Resources
To further your knowledge of Git commands, consider checking out the official Git documentation or enrolling in workshops focused on Git proficiency.
Call to Action
Start implementing `git switch -c` in your daily Git operations and watch as your branching strategies become more streamlined and efficient. For more hands-on experiences, subscribe to our upcoming workshops for in-depth learning.

