
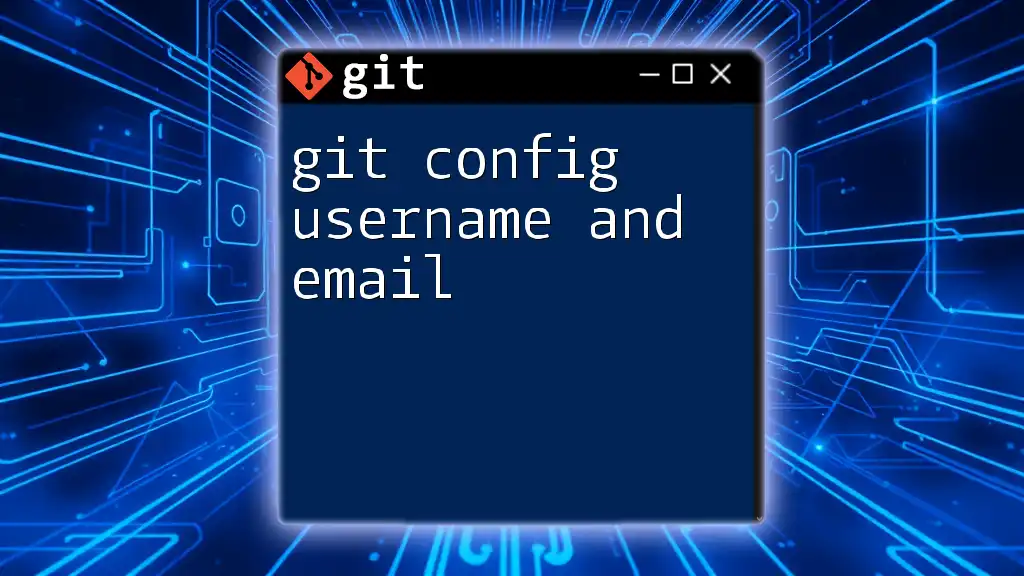
To set your Git username and email in IntelliJ, you can use the following commands in the terminal or command prompt integrated into IntelliJ:
git config --global user.name "Your Name"
git config --global user.email "your.email@example.com"
Understanding Git Username and Email
What is Git Username?
A Git username is a unique identifier associated with your commits in a Git repository. When you create a commit, your username is recorded alongside the commit’s timestamp and contents. This allows others to see who made changes to the codebase, establishing accountability and facilitating collaboration within teams.
Using a consistent username is crucial, especially when working in teams, as it helps maintain clarity and transparency regarding contributions.
What is Git Email?
A Git email serves a similar purpose to the username but is additionally used for communication. It specifies the email address that will appear in the commit history. This email is particularly important when collaborating with others, as it allows team members to contact you directly regarding specific commits or issues.
When setting your email, it's ideal to use a professional email that is associated with your work or your personal GitHub/GitLab account. This fosters trust and assures collaborators they can reach out to you for questions or discussions.
Setting Up Git in IntelliJ IDEA
Installing Git
Before you configure Git in IntelliJ, you need to have Git installed on your system. You can download and install Git from the [official Git website](https://git-scm.com/downloads). The installation process varies slightly among operating systems:
- Windows: Download the installer and follow the setup instructions.
- macOS: You can use Homebrew with the command:
brew install git - Linux: Use your package manager, such as:
sudo apt-get install git
To verify that Git is installed correctly, you can open a terminal and run:
git --version
This command should return the currently installed version of Git.
Configuring Git in IntelliJ IDEA
When you have Git ready to go, you can configure it within IntelliJ IDEA. Follow these steps to access the Settings/Preferences menu:
- On Windows/Linux: Navigate to `File > Settings`.
- On macOS: Go to `IntelliJ IDEA > Preferences`.
Within the settings window, you will find all the necessary options to manage your Git configuration.

Setting Git Username and Email in IntelliJ
Accessing Version Control Settings
In IntelliJ’s settings, locate the Version Control section. This area contains options for managing your Git configuration. Once you’re there, you are ready to set your username and email.
Setting the Username
To set your Git username, look for the appropriate field under the Version Control settings. Enter your desired username. It’s commonly your real name or a handle that represents you in your work.
For example, you could enter:
- `John Doe`
- `johndoe123`
Having a clear username is essential for ensuring that team members can easily identify your contributions.
For users who prefer using the terminal, the equivalent command is:
git config --global user.name "Your Name"
Setting the Email
Next, input your email address in the designated field. Make sure it follows standard email formatting, such as:
This email will be visible in the commit history, and using a professional or recognizable address can facilitate better communication.
If you prefer to set it from the terminal, you can use the following command:
git config --global user.email "your.email@example.com"

Verifying Your Configuration
Checking Your Username and Email in IntelliJ
After setting your username and email, you can easily confirm these settings by returning to the Version Control section in IntelliJ. Here, you should see the values you’ve entered, ensuring they are correct.
Checking via Command Line
For those who are comfortable using the terminal, you can verify your username and email with these commands:
git config --global user.name
git config --global user.email
This verification step helps confirm that your information has been stored correctly.
Troubleshooting Common Issues
Incorrect Username or Email
If you notice an error in your username or email, you can easily correct it within IntelliJ by navigating back to the Version Control settings and re-entering the correct values.
Multiple Configurations
In some cases, you may want to use different usernames or emails for specific repositories. Git allows local configurations that override global settings. This can be beneficial if, for example, you're working on both personal and professional projects.
To set a local username and email for a repository, follow these commands while inside the repository folder:
git config user.name "Local Username"
git config user.email "local.email@example.com"
This specifies the username and email just for that repository, ensuring that your contributions are associated correctly.

Conclusion
Setting your Git username and email in IntelliJ IDEA is a straightforward yet crucial step in managing your coding projects effectively. It not only reflects your identity in the commit history but also establishes a point of contact with your collaborators. By following the steps outlined, you can ensure that your contributions are accurately represented, enhancing your collaborative efforts and project ownership.
As you delve deeper into using IntelliJ and Git commands, you'll find this foundation helps streamline your development process and fosters better team dynamics. Be sure to keep exploring and mastering Git commands for an efficient coding experience!

Additional Resources
For more detailed information, you can reference the official [JetBrains documentation for Git in IntelliJ IDEA](https://www.jetbrains.com/help/idea/version-control-integration.html). Also, consider broadening your knowledge with further readings on Git version control best practices, ensuring you remain adept at using this essential development tool.


