If Git is not installed in IntelliJ, you can set it up by installing Git on your system and then configuring IntelliJ to recognize it using the following command:
sudo apt-get install git
After installation, ensure you link it in IntelliJ under File > Settings > Version Control > Git.
Understanding the Issue
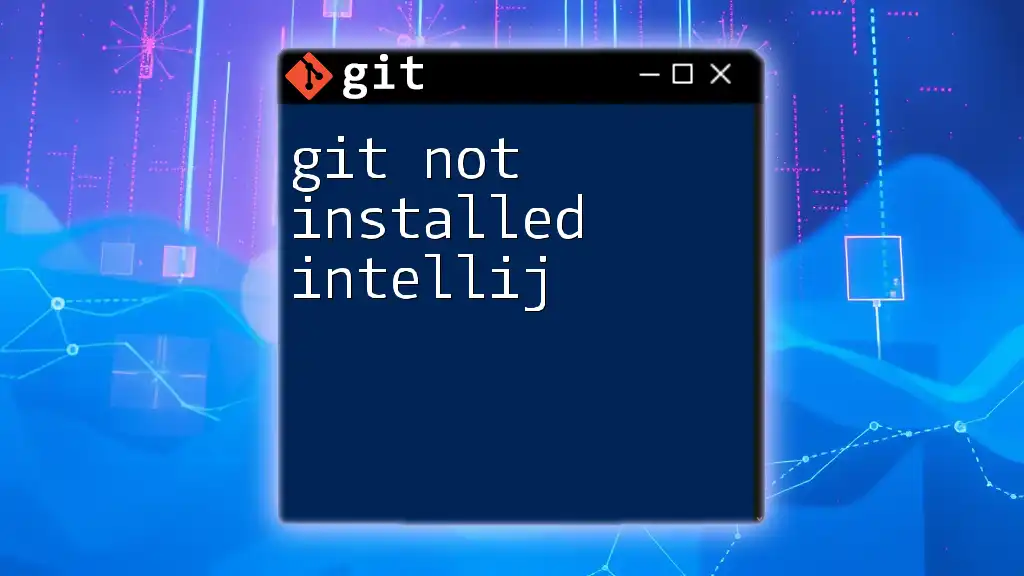
When encountering the error message “Git not installed” in IntelliJ, it can often lead to frustration, especially if you're eager to use version control features. Understanding why this occurs is crucial for resolving the problem effectively.
Common Symptoms of Git Not Installed
The most recognizable symptom is the appearance of error alerts in IntelliJ, such as:
- Visual indications within the Version Control panel stating that Git cannot be found.
- Prompt messages like “Git is not installed or cannot be found” when attempting to perform Git operations like committing or pushing changes.
These messages indicate that IntelliJ is unable to interface with Git, which is required to manage your source code revisions.
Why This Happens
This issue usually arises from two primary scenarios: misconfiguration of IntelliJ settings or the absence of Git installation on your system. IntelliJ checks for Git in a predefined location based on your system configuration. If Git is not installed or its path is not correctly specified in IntelliJ settings, you will encounter this issue.
Checking Git Installation
Before moving forward with troubleshooting in IntelliJ, it’s essential to confirm whether Git is installed on your system and to locate its installation path.
Verifying Git Installation on Your System
To verify if Git is installed, use your command line interface:
git --version
If Git is installed, you will receive an output indicating the current Git version, such as `git version 2.34.0`. If you see an error message stating that the command is not recognized, Git is either not installed or not in your system's PATH.
Finding Git Installation Path
Knowing where Git is installed can help you configure IntelliJ correctly. Depending on your operating system, you can locate it as follows:
- On macOS/Linux, use:
which git
- On Windows, execute:
where git
These commands will return the path to the Git executable if it is installed.
Installing Git
If upon checking you find that Git is indeed not installed, it’s essential to install it.
Downloading and Installing Git
Windows Installation:
- Visit the [Git for Windows website](https://gitforwindows.org/).
- Download the installer and run it.
- Follow the prompts, ensuring to select options that suit your development needs. The default options work for most users.
macOS Installation: The easiest way to install Git on macOS is via Homebrew. Run:
brew install git
If you don't have Homebrew installed, visit [Homebrew's official site](https://brew.sh/) for installation instructions.
Linux Installation: For those on a Linux system like Ubuntu, use your terminal to execute:
sudo apt-get install git
This command fetches Git from the default repositories and installs it seamlessly.
Configuring IntelliJ IDEA to Recognize Git
Once Git is installed, the next step is configuring IntelliJ to use it appropriately.
Setting Up Version Control in IntelliJ
To get IntelliJ to recognize your Git installation:
- Navigate to Settings: Open IntelliJ and go to `File` > `Settings` (or `IntelliJ IDEA` > `Preferences` on macOS).
- Locate Version Control: In the settings, find the Version Control option on the left sidebar.
- Add Git Executable Path: In this section, you can define the path to the Git executable. Ensure that it matches the output from the command you previously ran to check the installation.
This step establishes a link between IntelliJ and the Git command line tool.
Testing Git Integration
After you've set up Git in IntelliJ, it's time to test if everything works correctly.
- Creating a New Project: Start a new project and select version control settings during the setup process, ensuring you initialize it as a Git repository.
- Using Git Commands Within IntelliJ: Attempt to commit changes or create branches from within the IntelliJ interface. If successful, this confirms that Git integration is functioning.
Troubleshooting Common Issues
Even after proper installation, you may face several issues while working with Git in IntelliJ.
Git Commands Not Recognized
If Git commands are still not recognized:
-
Potential Causes: Check for a misconfigured path in the IntelliJ settings or missing environment variables in your system.
-
Solution Steps: Ensure that the Git executable path you set in IntelliJ matches the one you obtained from the command line earlier. If you had to reinstall Git, you may also need to update this path.
Invalid or Unsupported Git Version
Sometimes, you might face issues with unsupported versions of Git:
- What to Do If You Get Errors: Confirm the installed version using the command:
git --version
- If you find that your version is outdated, upgrade it by downloading the latest version from the Git website or using your OS-specific package manager.
Conclusion
Encountering the “Git not installed in IntelliJ” message can be a significant roadblock to effective version control. However, by following the outlined verification and installation steps, you can easily resolve this issue. Proper configuration of IntelliJ to recognize your Git installation is critical for leveraging the power of version control seamlessly.
Additional Resources
- Git Documentation: [Official Git Documentation](https://git-scm.com/doc)
- IntelliJ Guides: [IntelliJ IDEA Documentation](https://www.jetbrains.com/idea/documentation/)
- Recommended Learning: Explore books or online courses on Git to enhance your version control skills further.
Call to Action
If you have faced issues similar to this or have insights to share, please leave a comment below! Your experiences could help others who encounter the same challenges. For anyone looking to master Git commands swiftly, check out our services designed to accelerate your learning!


